We were featured on Etsy's blog!
Read More
new work at the Fair
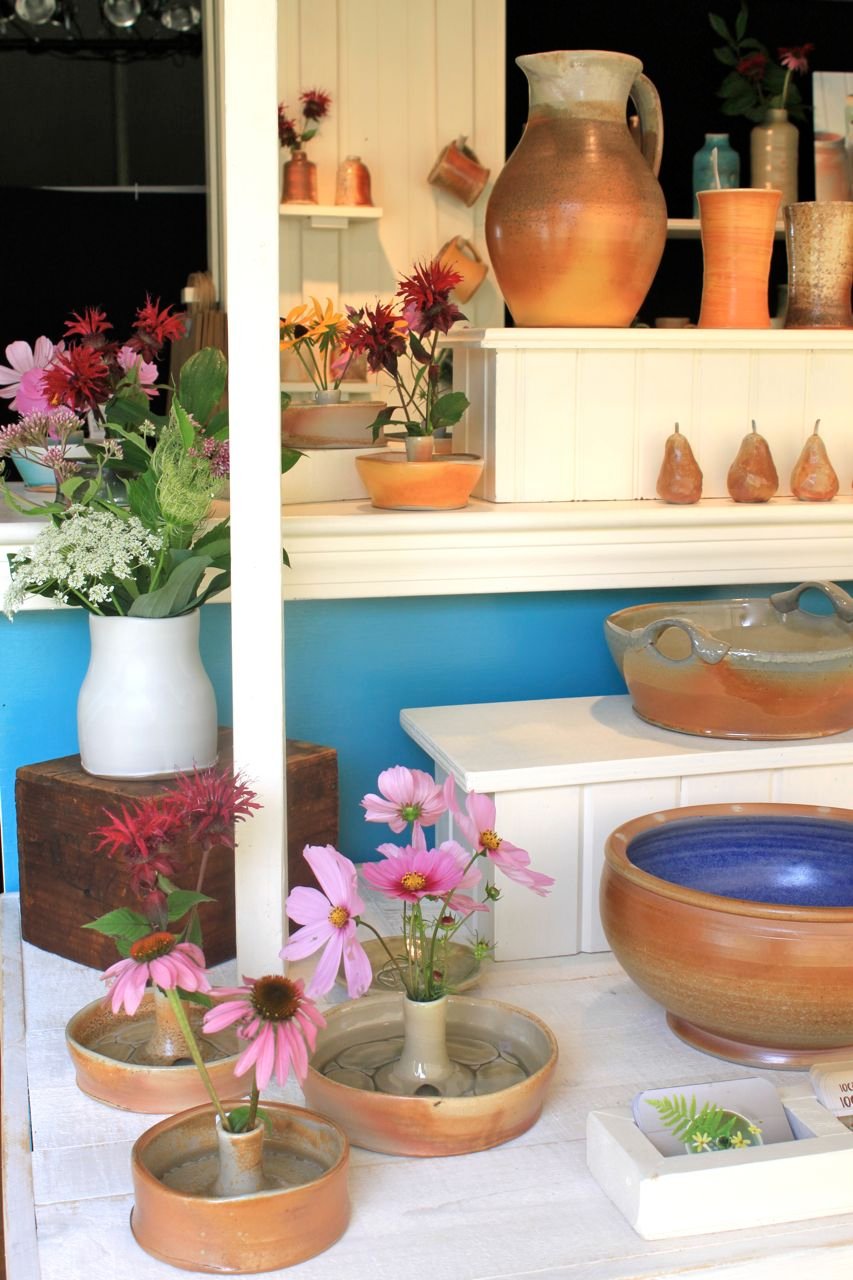
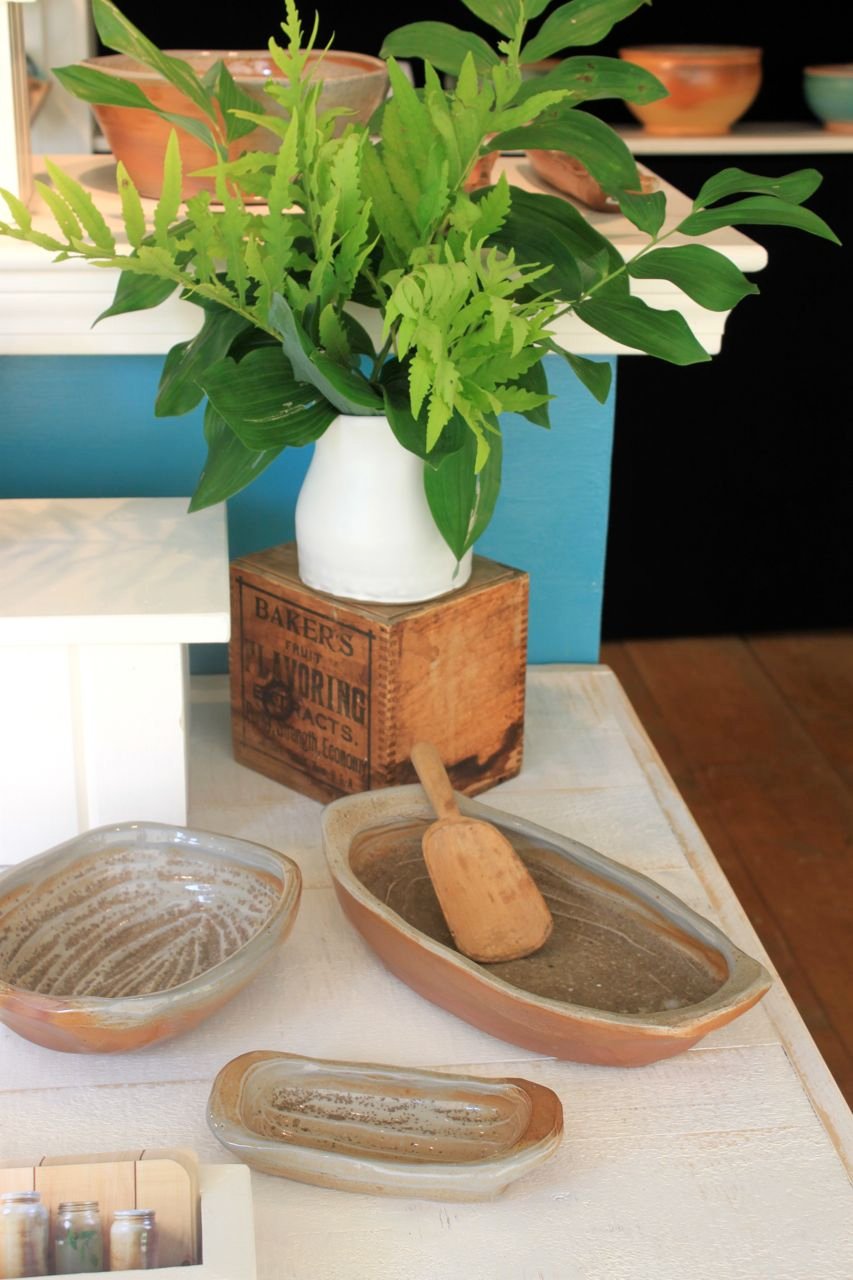
We're really looking forward to bringing our brand-new wood-fired work to "the Fair", our biggest show of the year. Join us at Mt. Sunapee Resort in Newbury, NH, August 1st - 9th, for the 82nd Annual League of NH Craftsmen's Fair. It's a fantastic - and big! - show, so look for Two Potters in the front of Tent #6. The show runs 10 am to 5pm daily, plus we're open until 8pm on Thursday, August 6th.
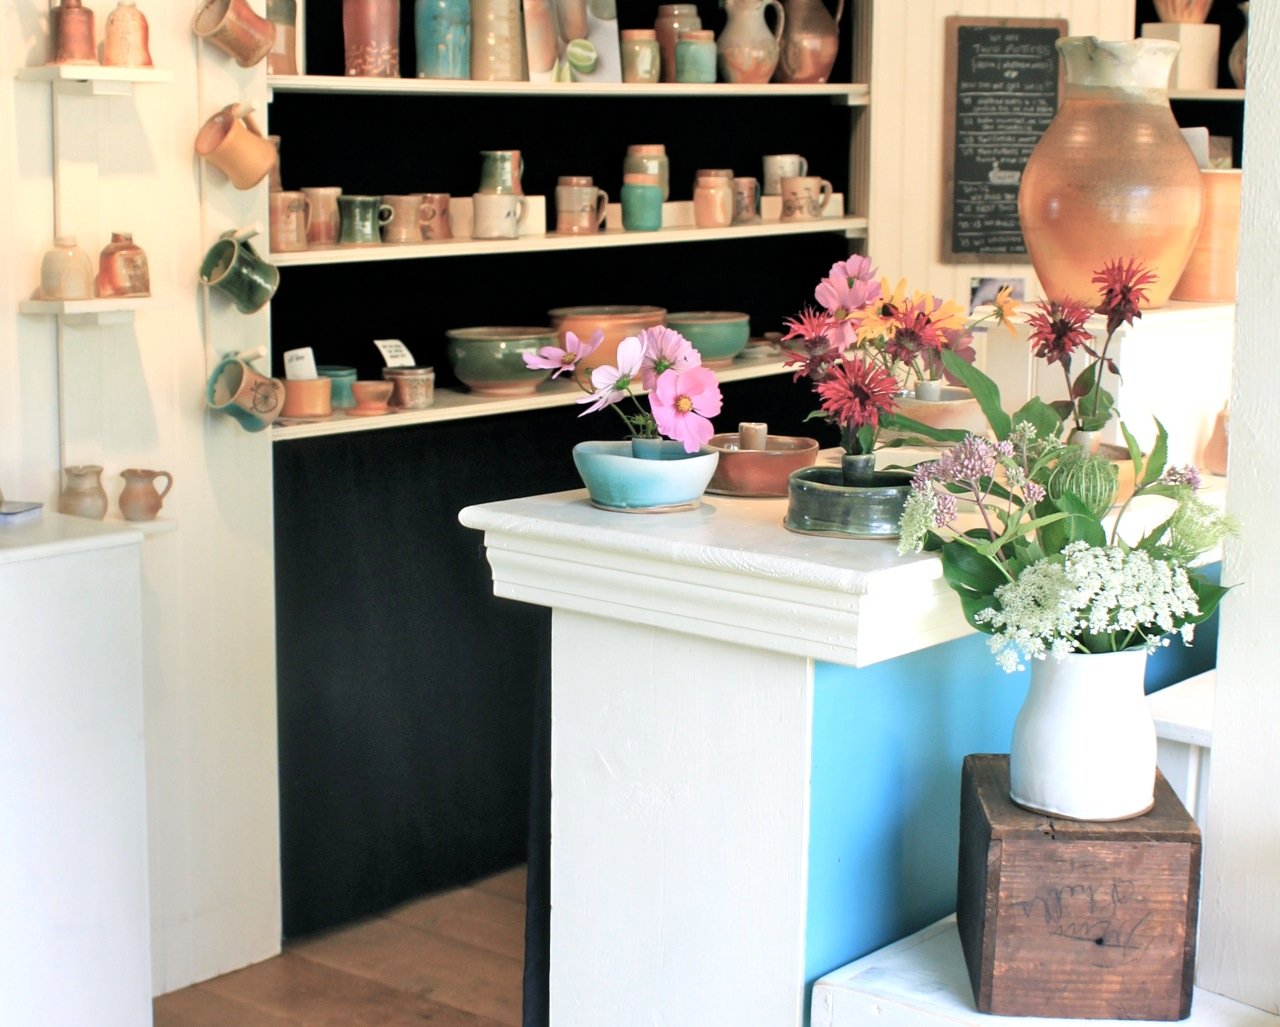
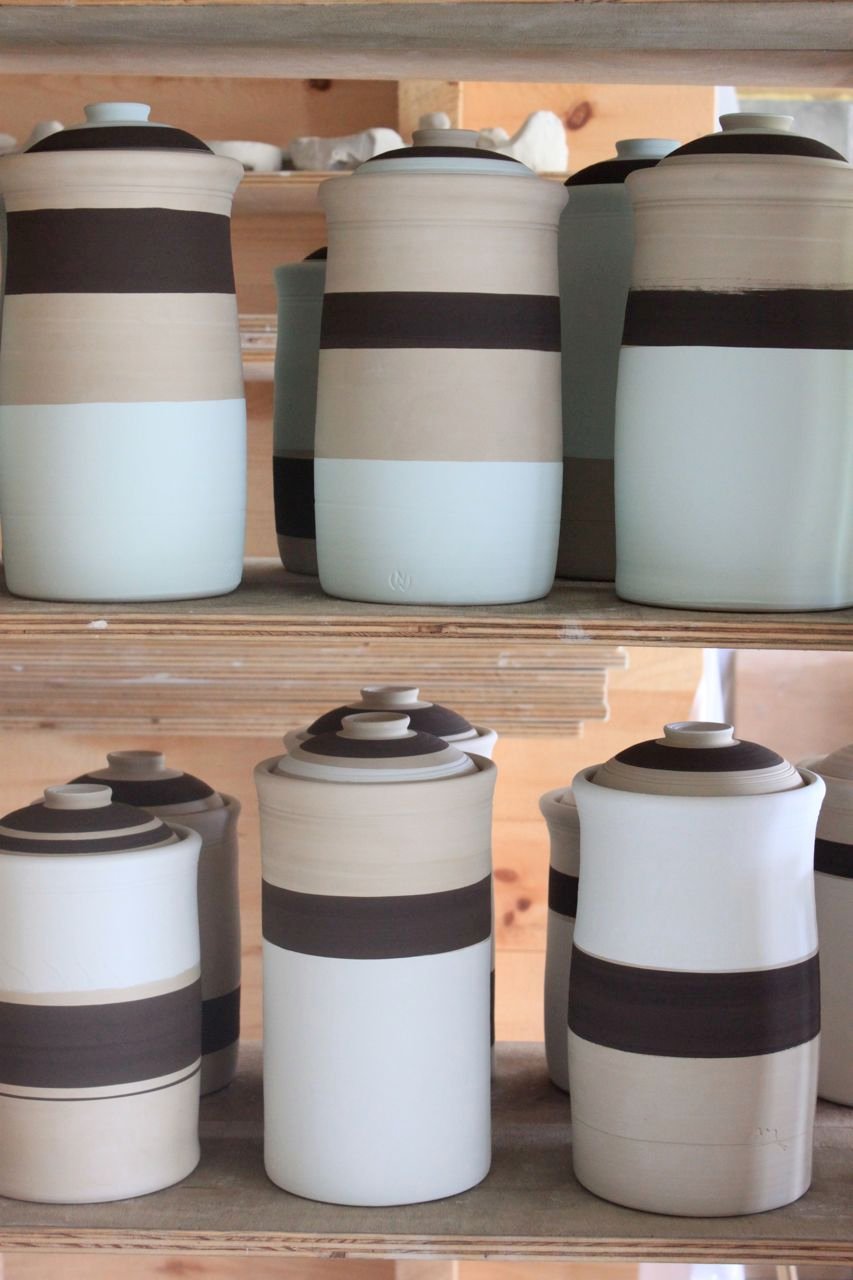
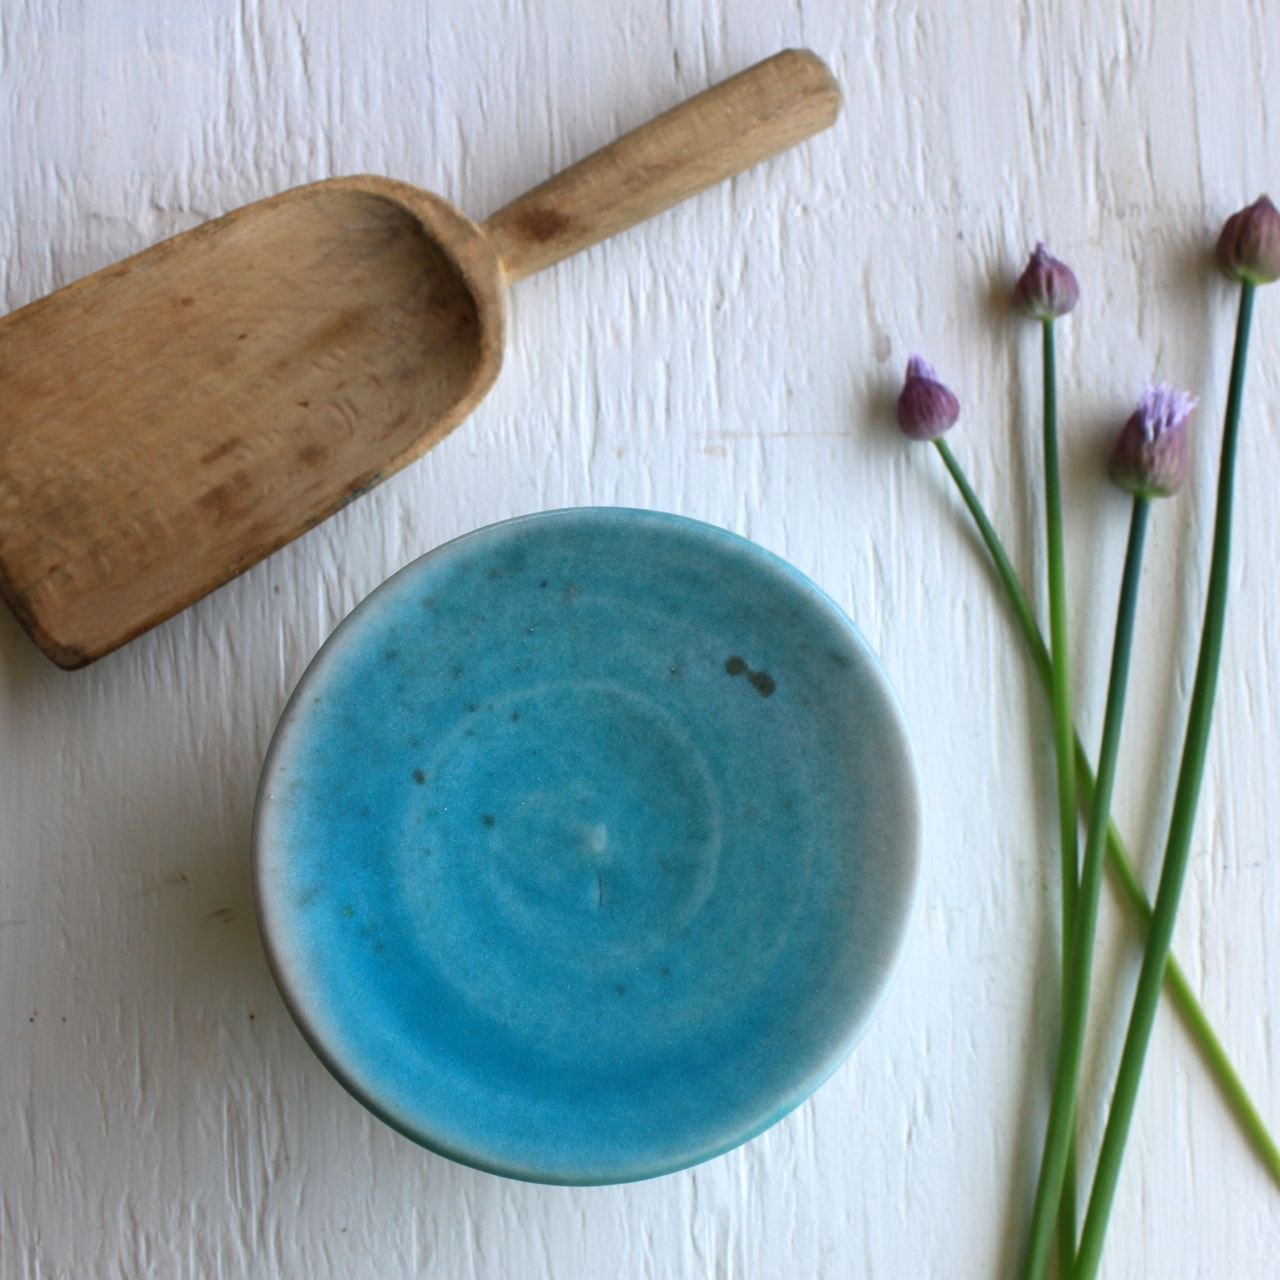
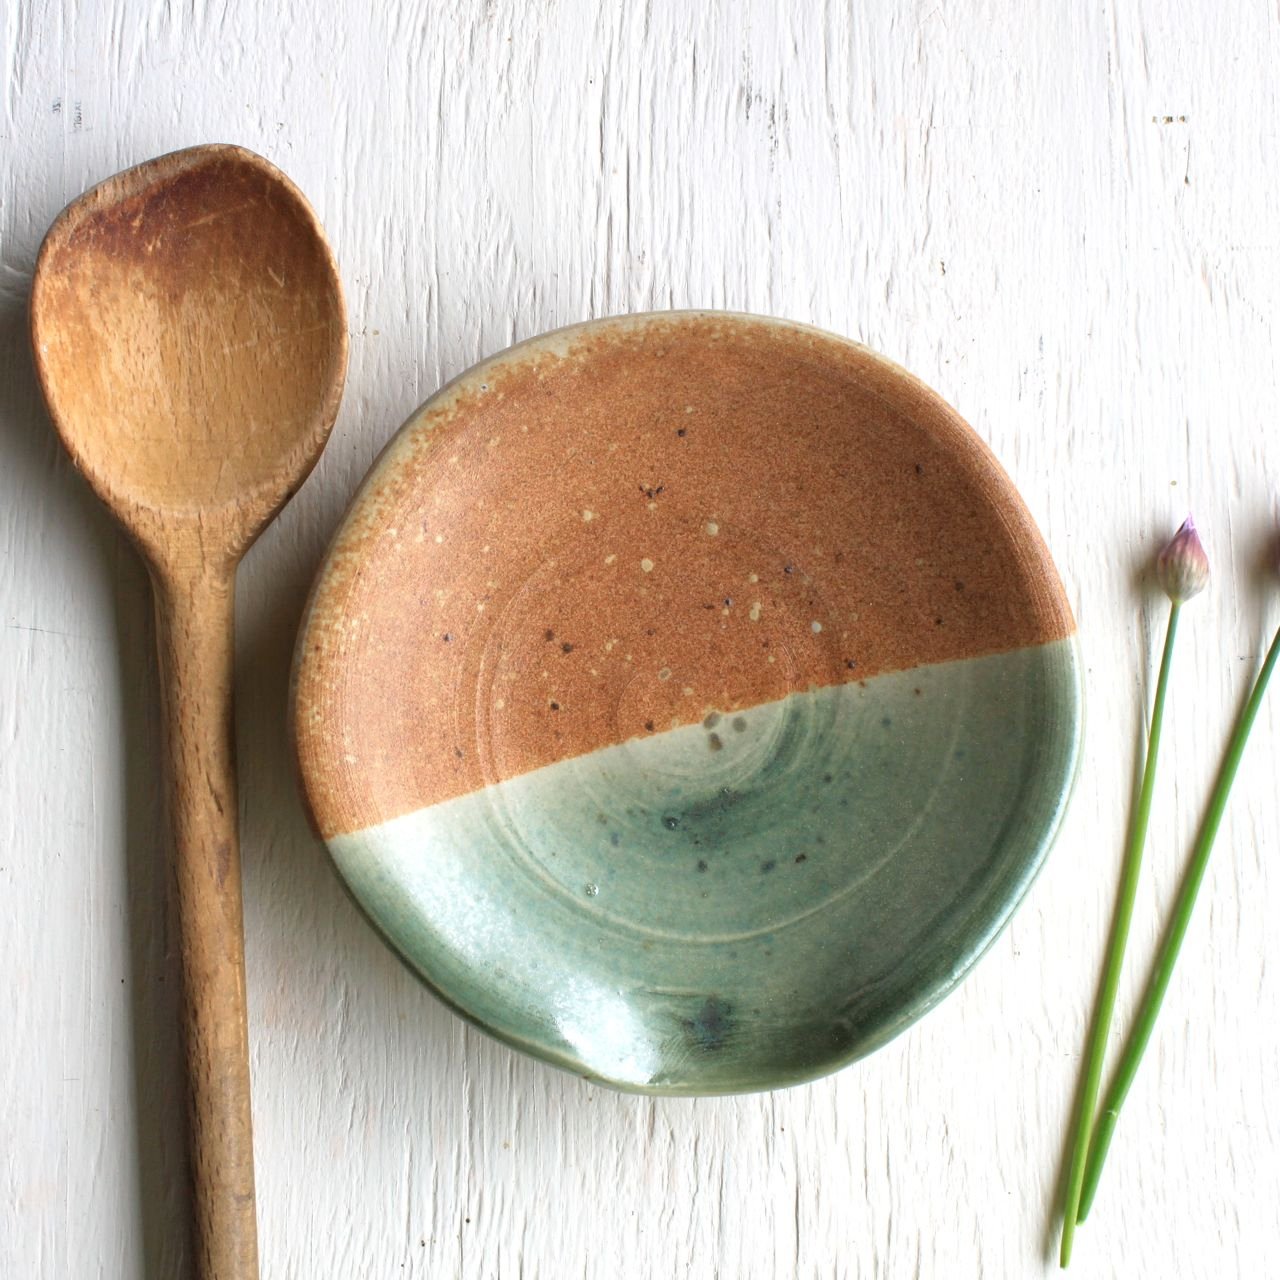
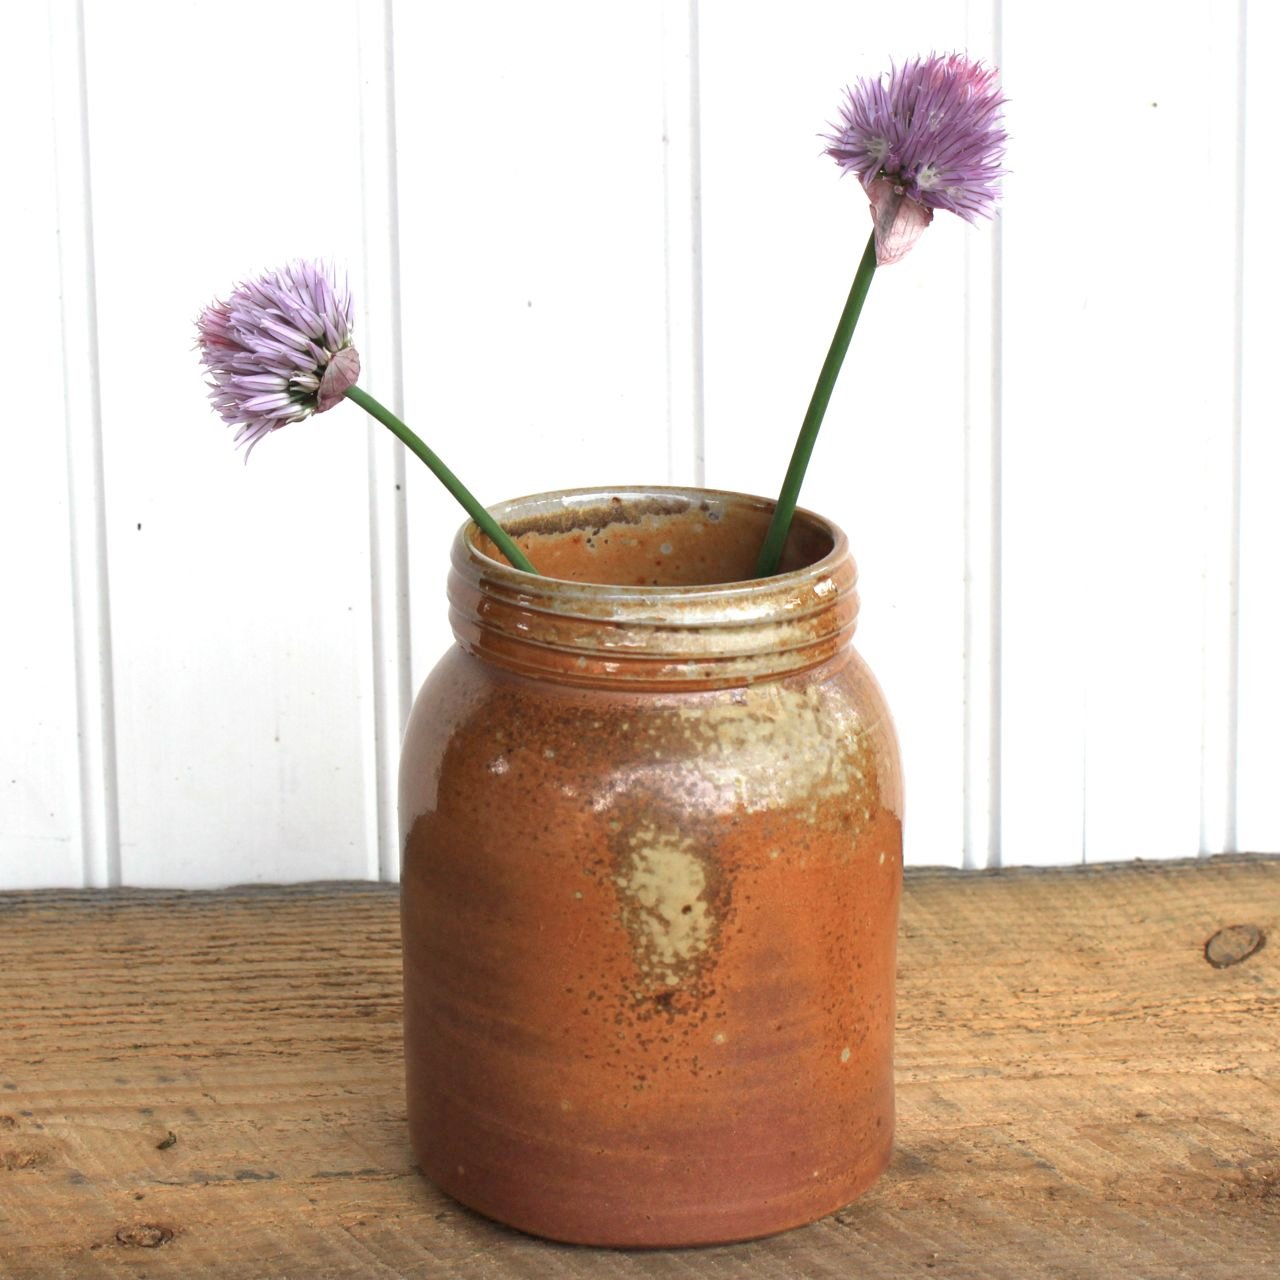
Here's a little preview . . .
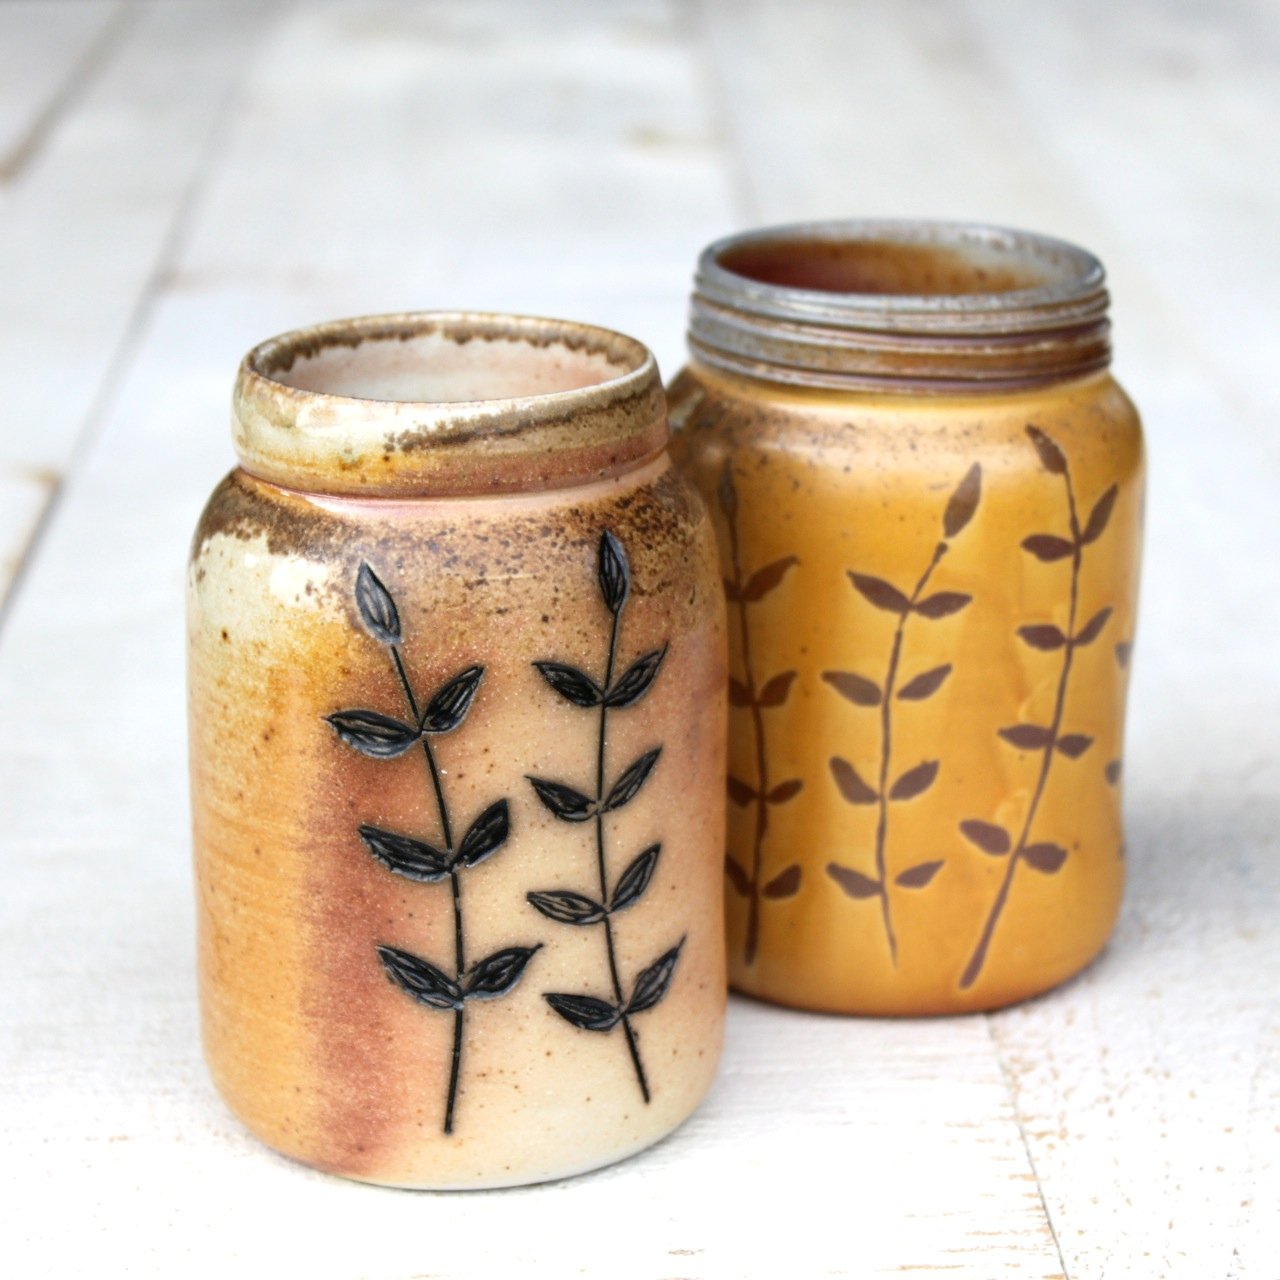
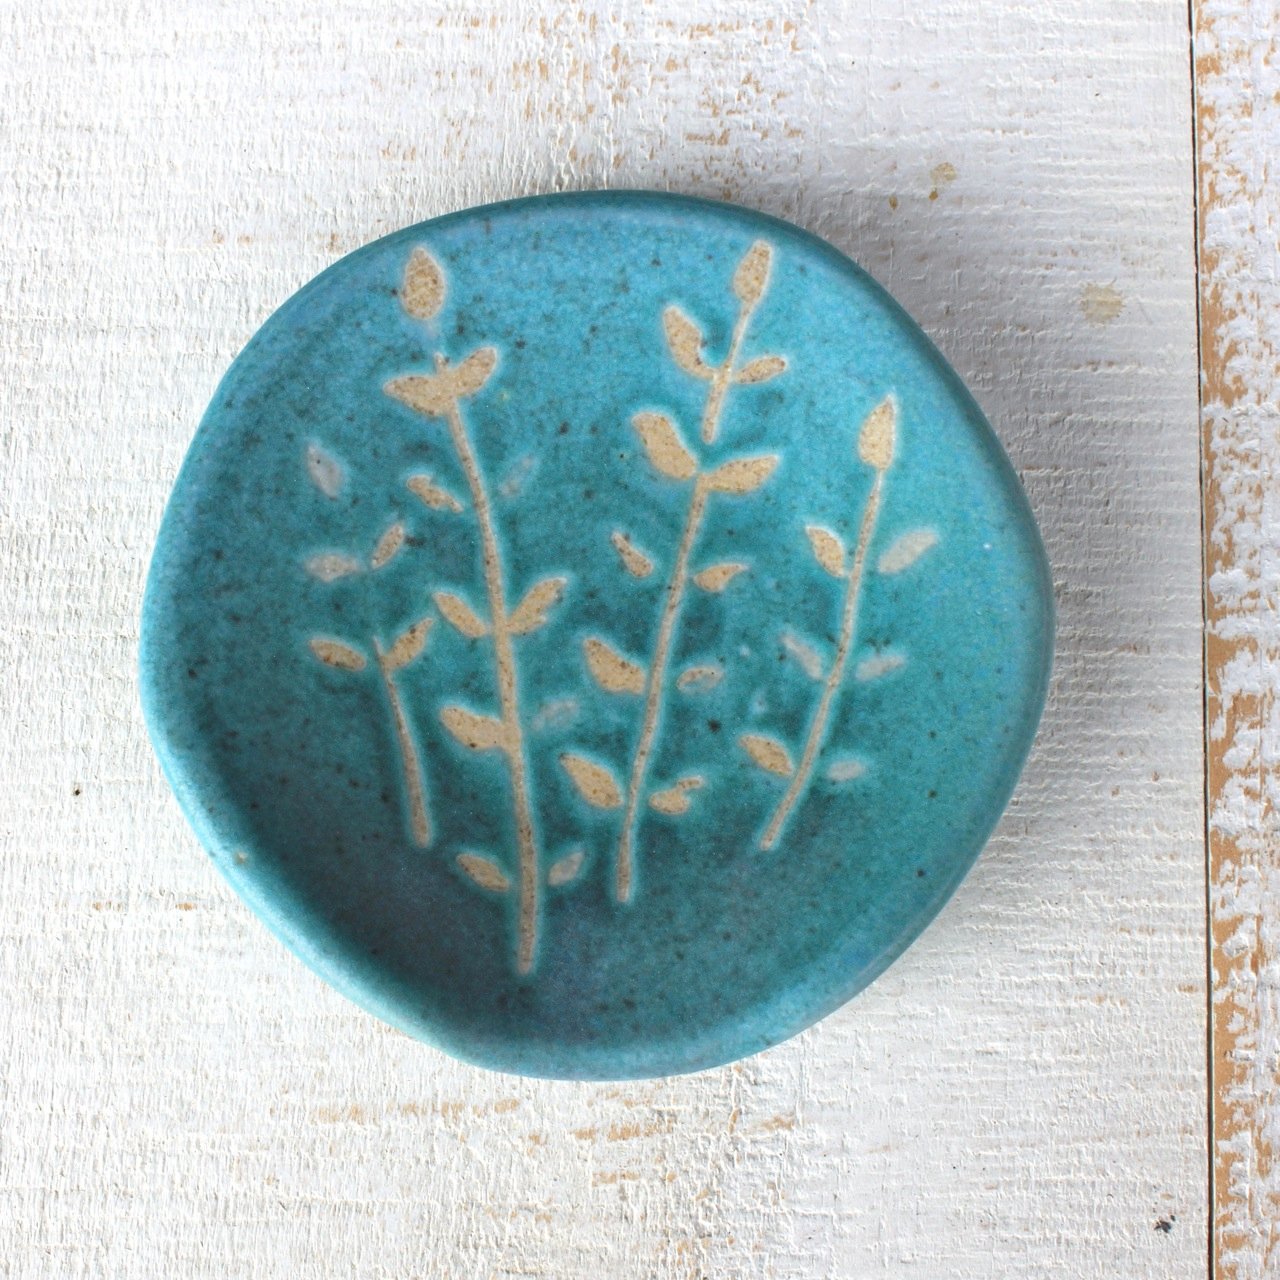
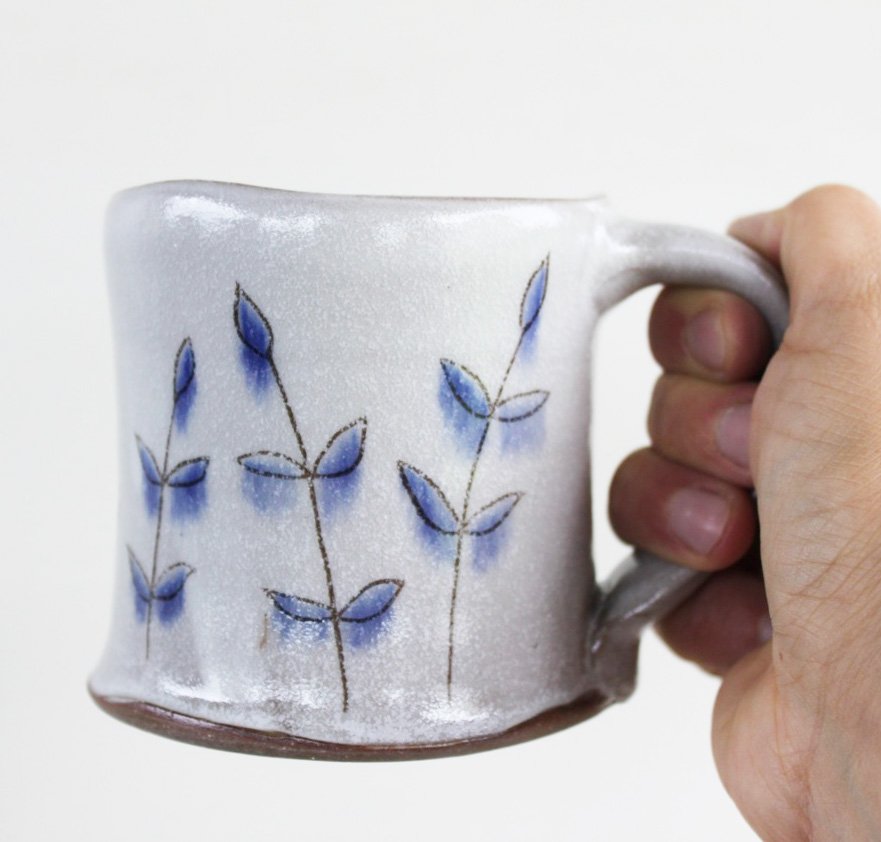
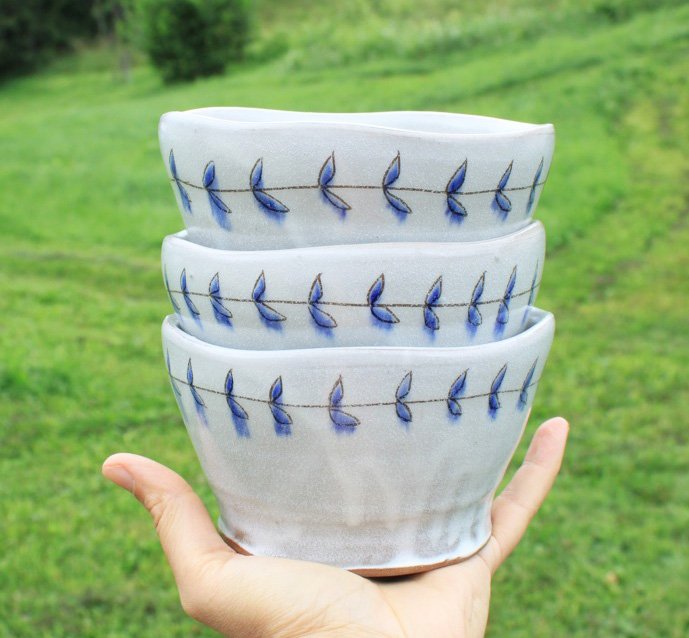
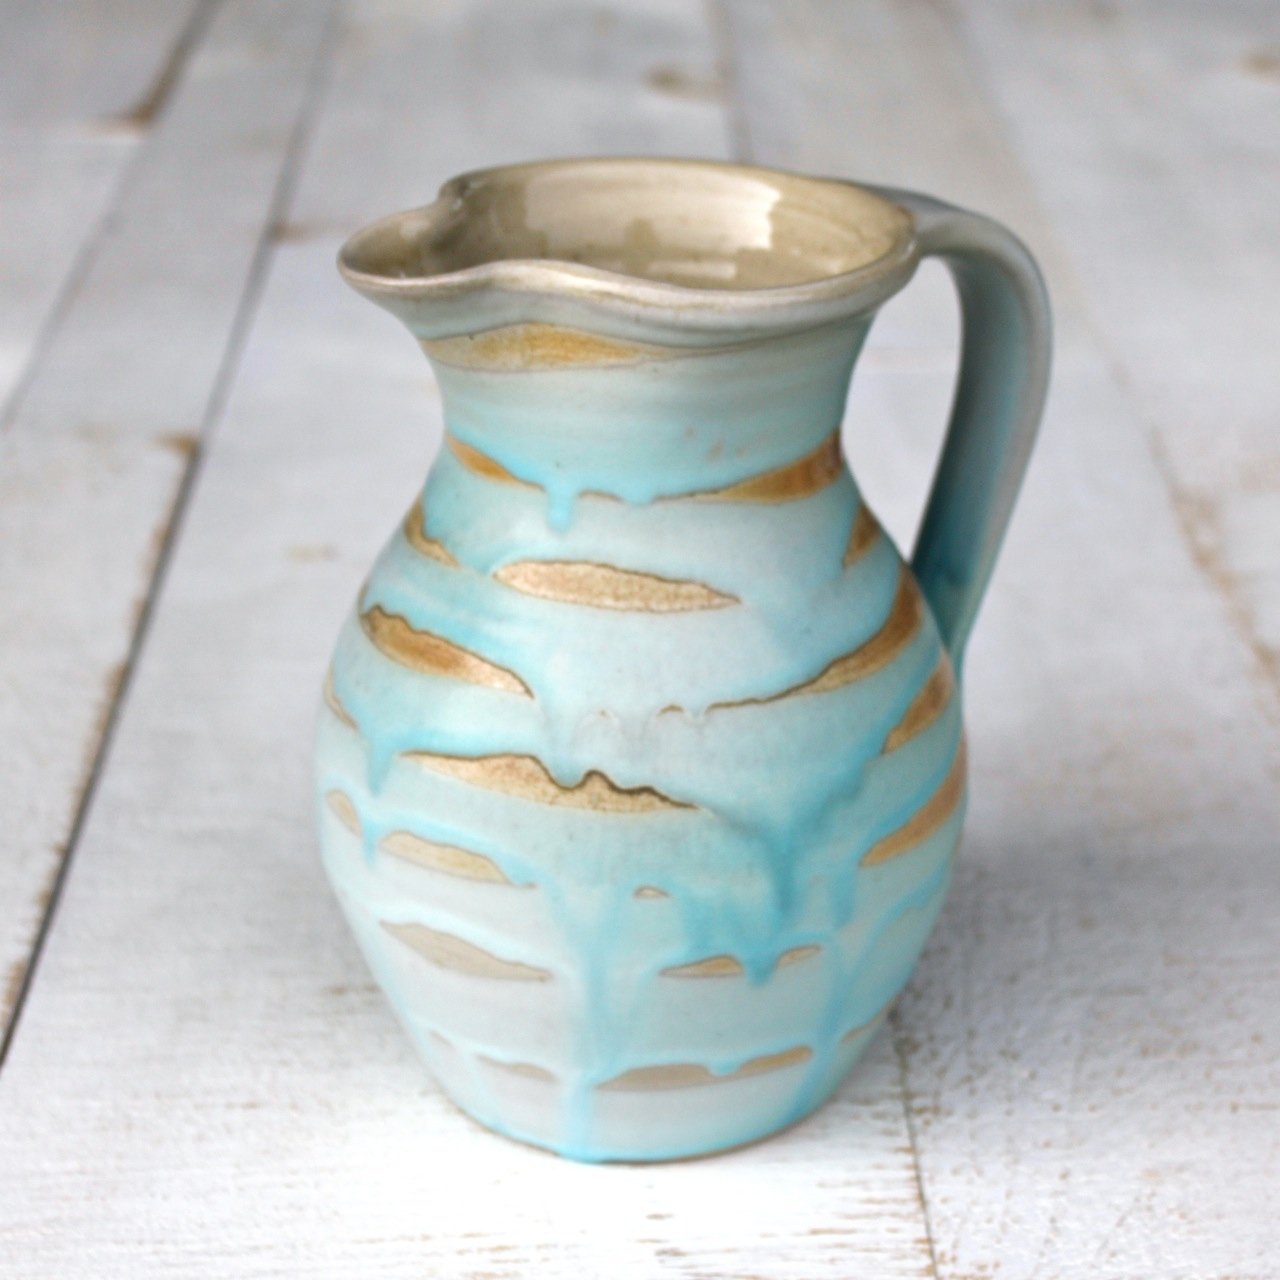
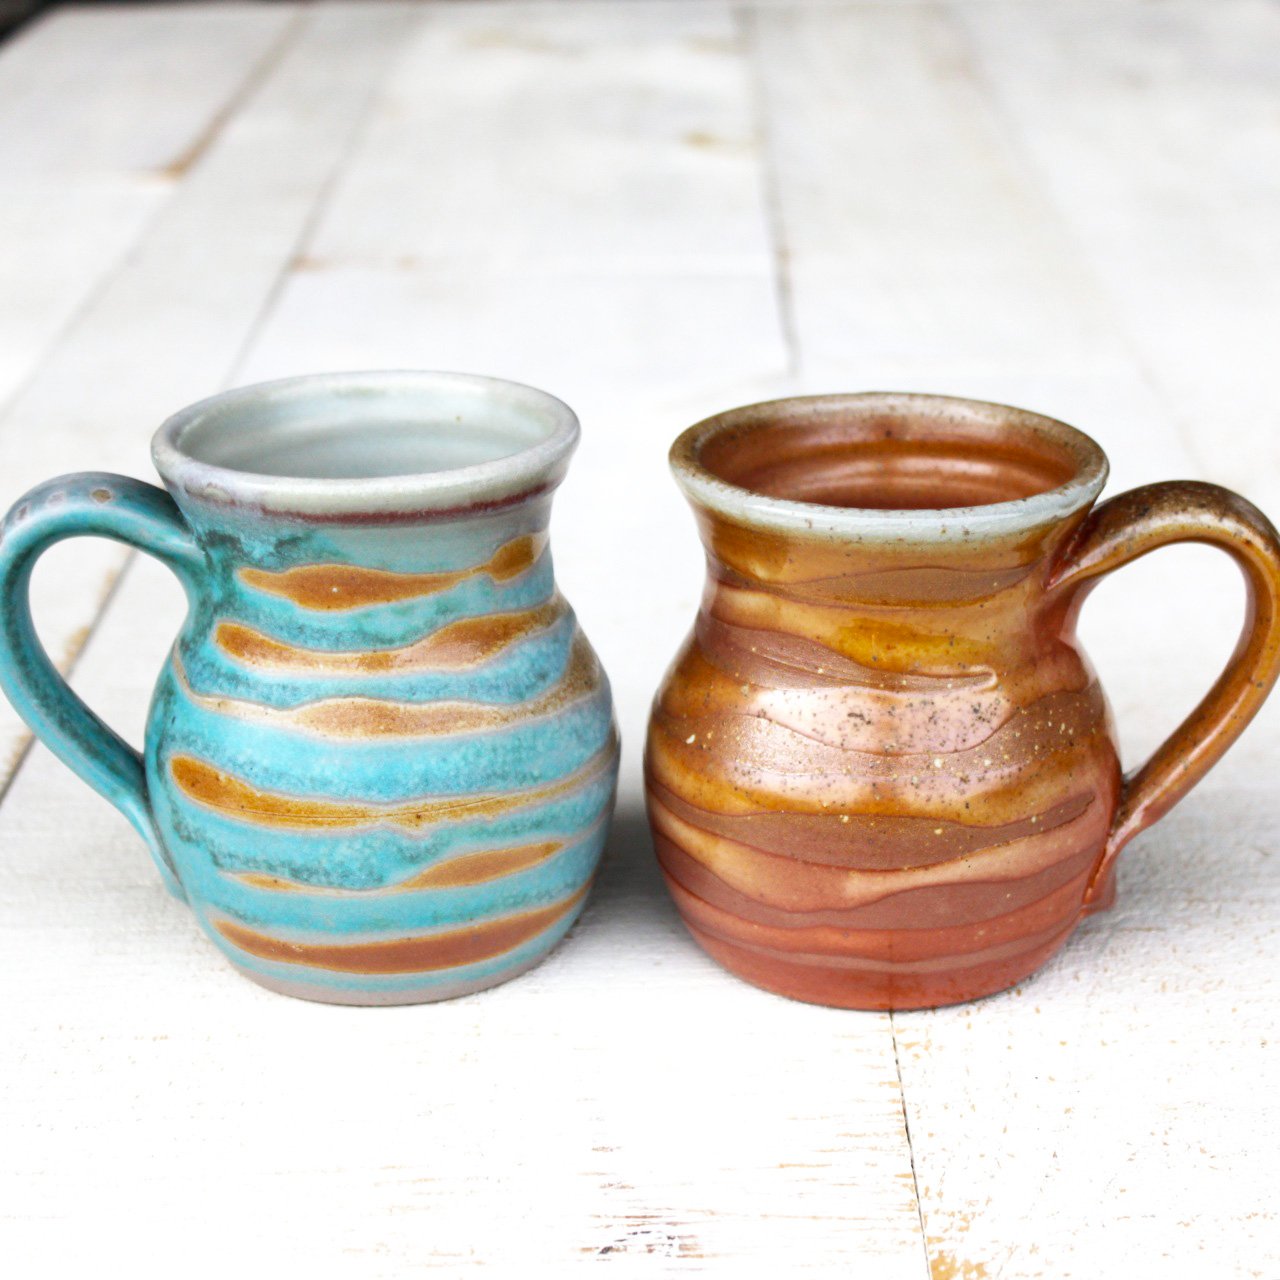

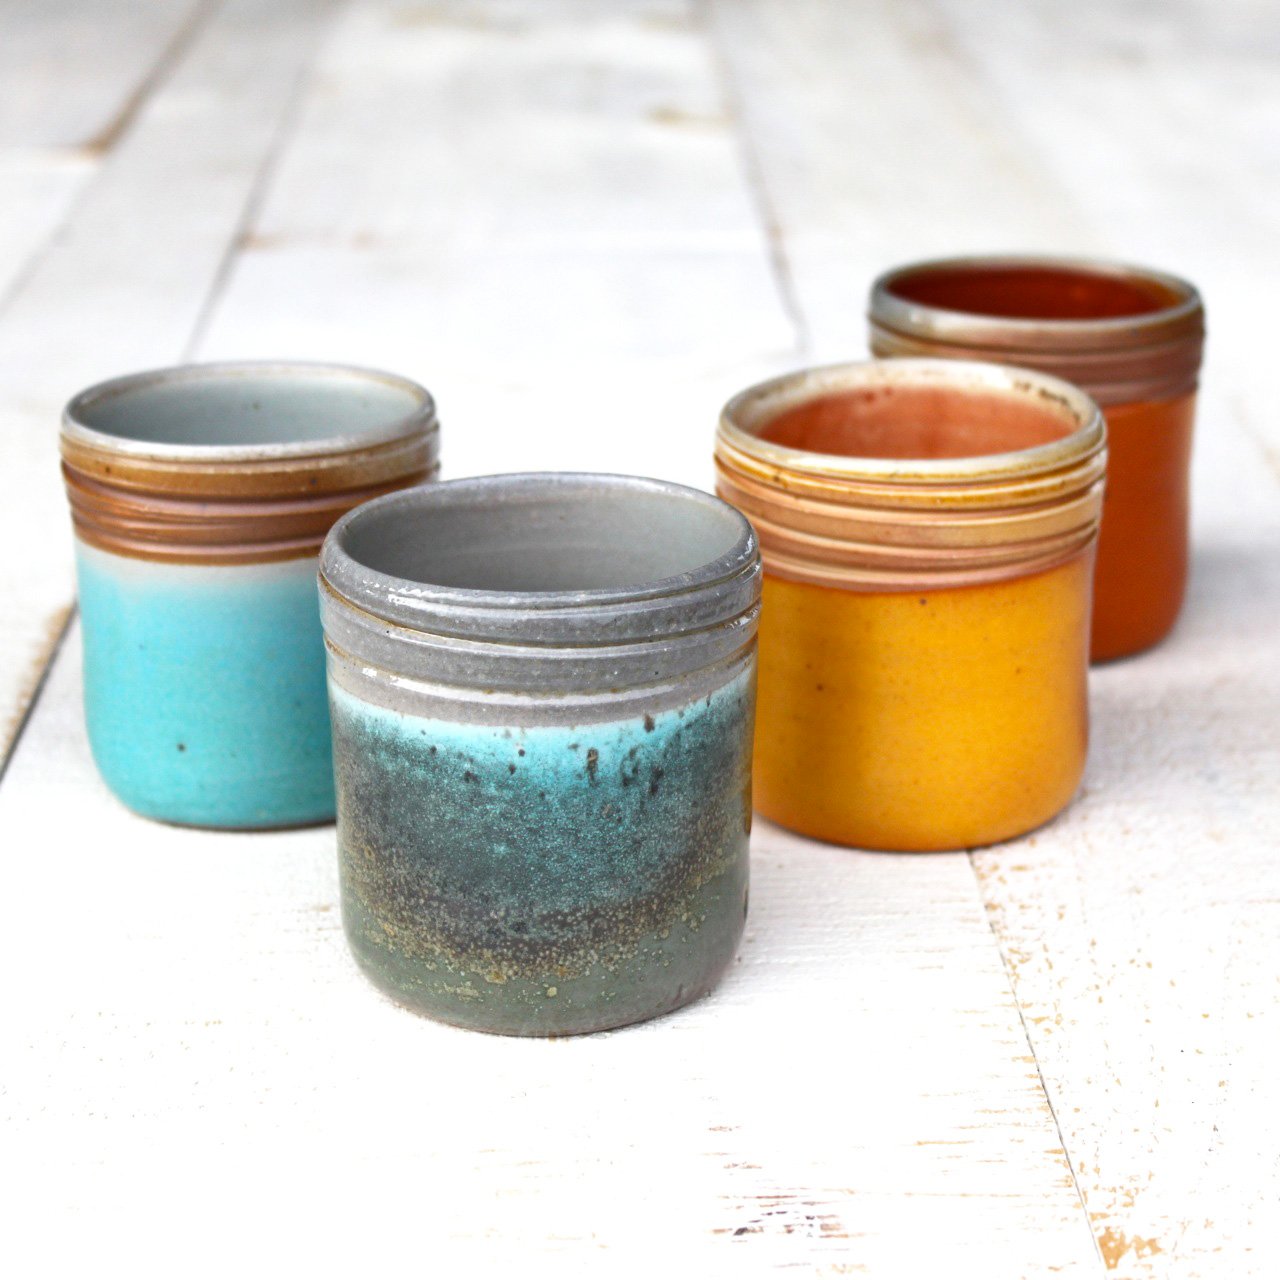
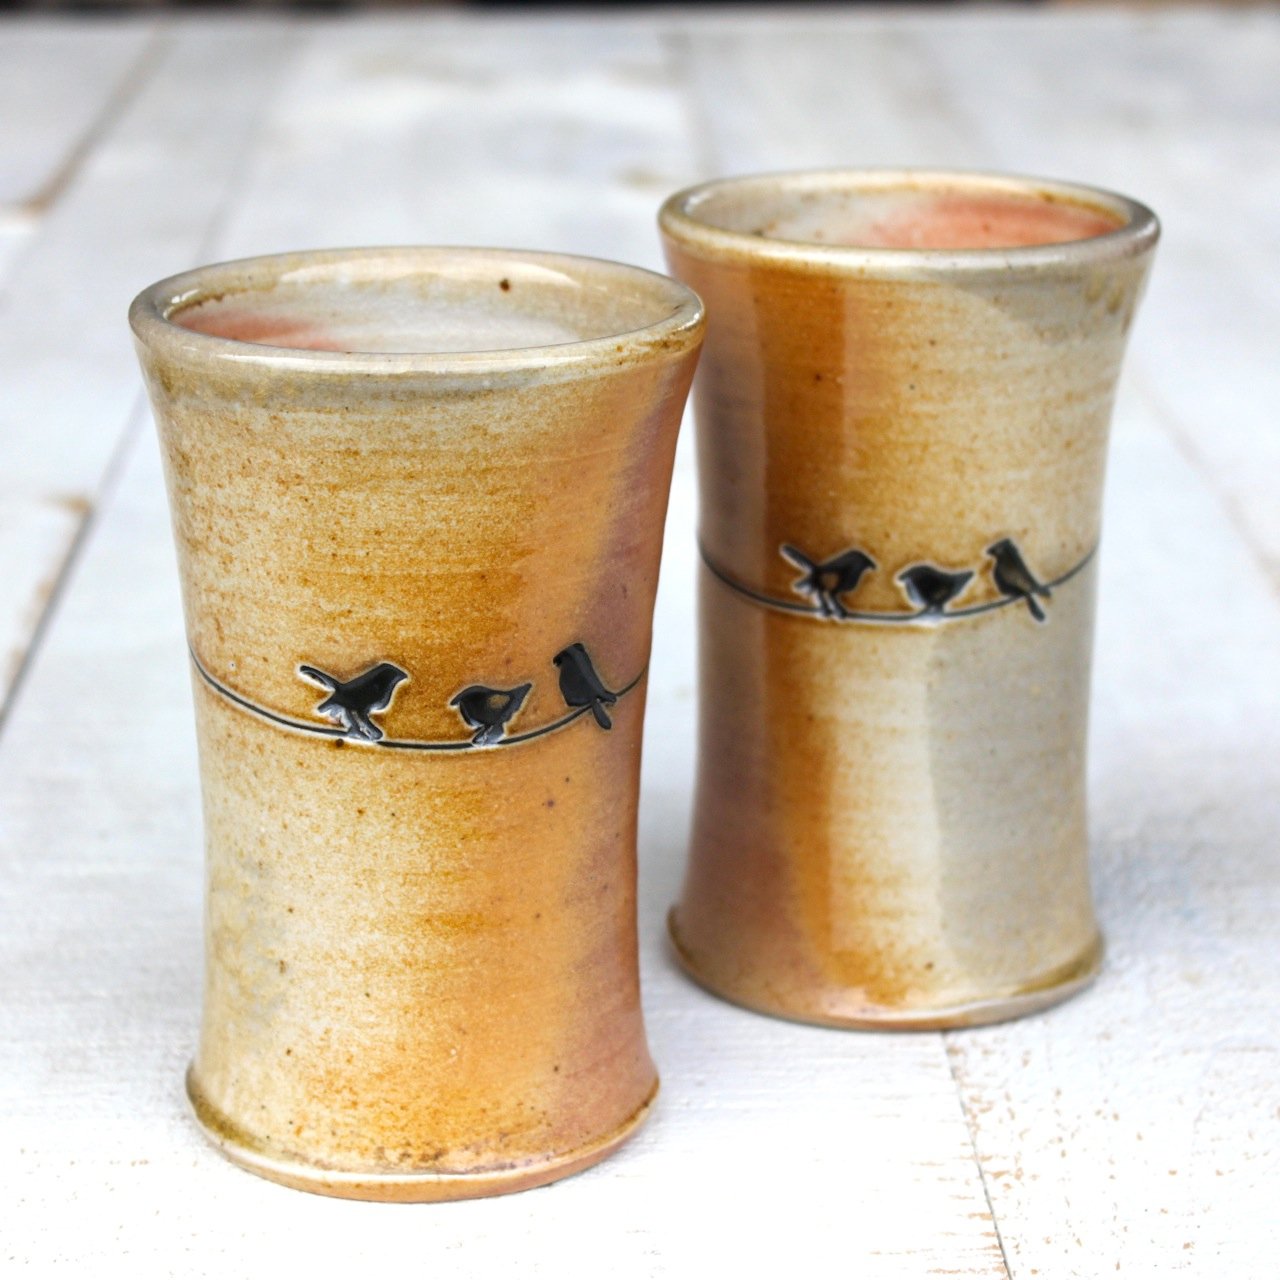

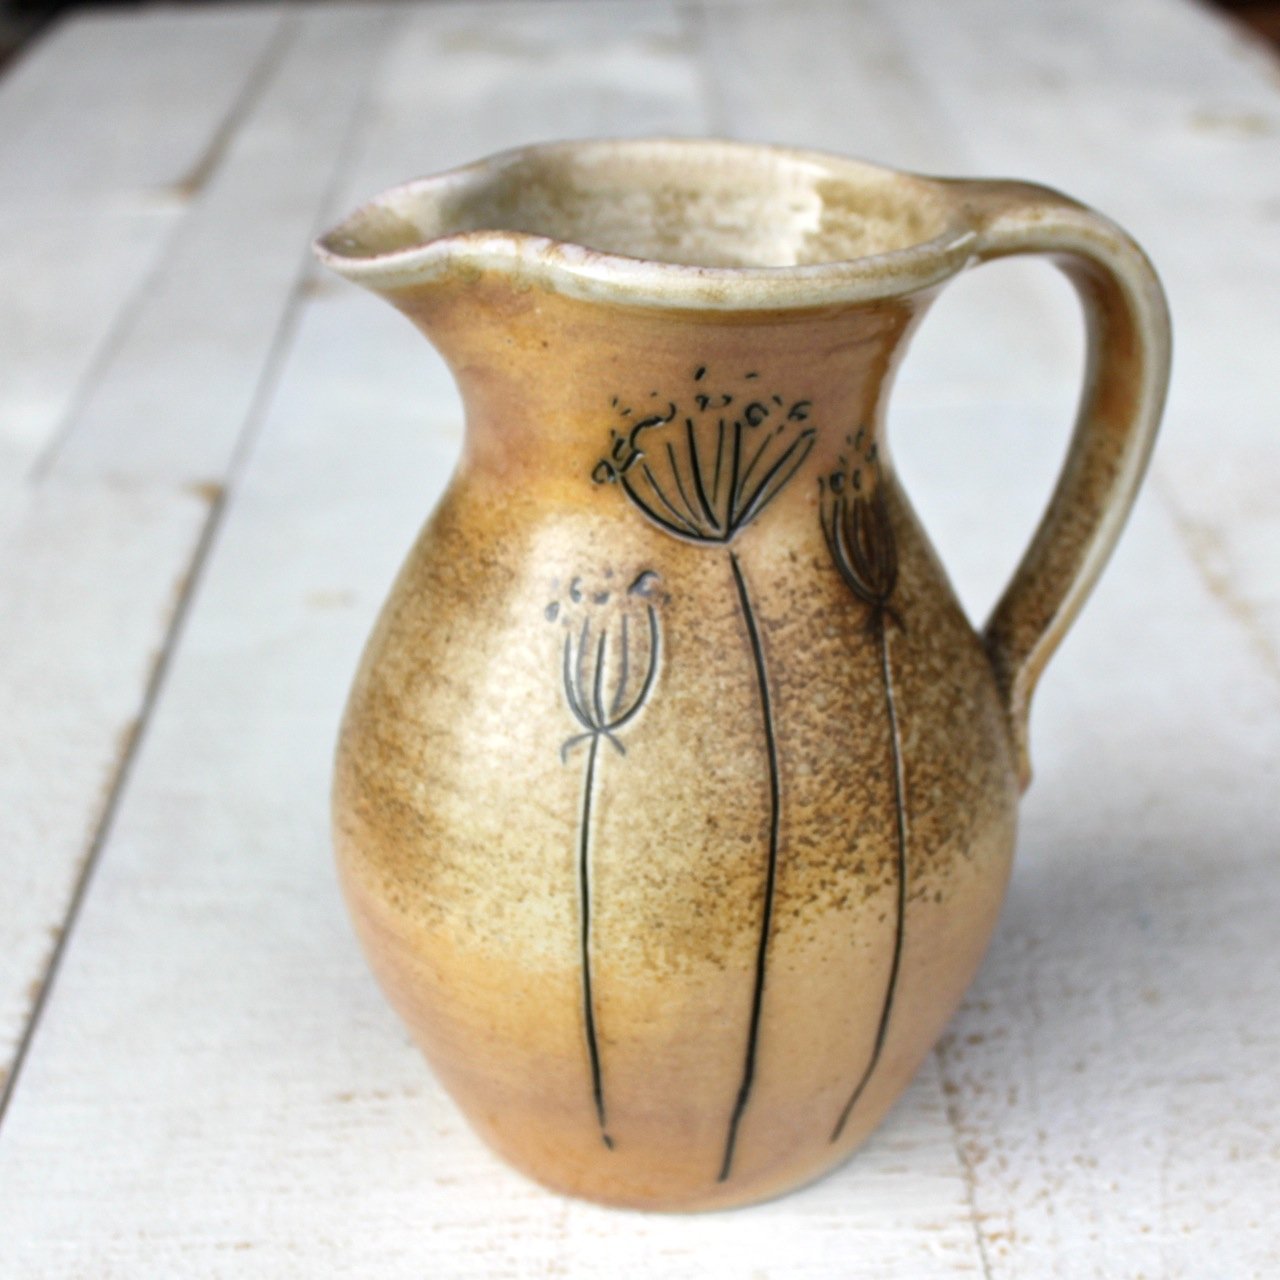
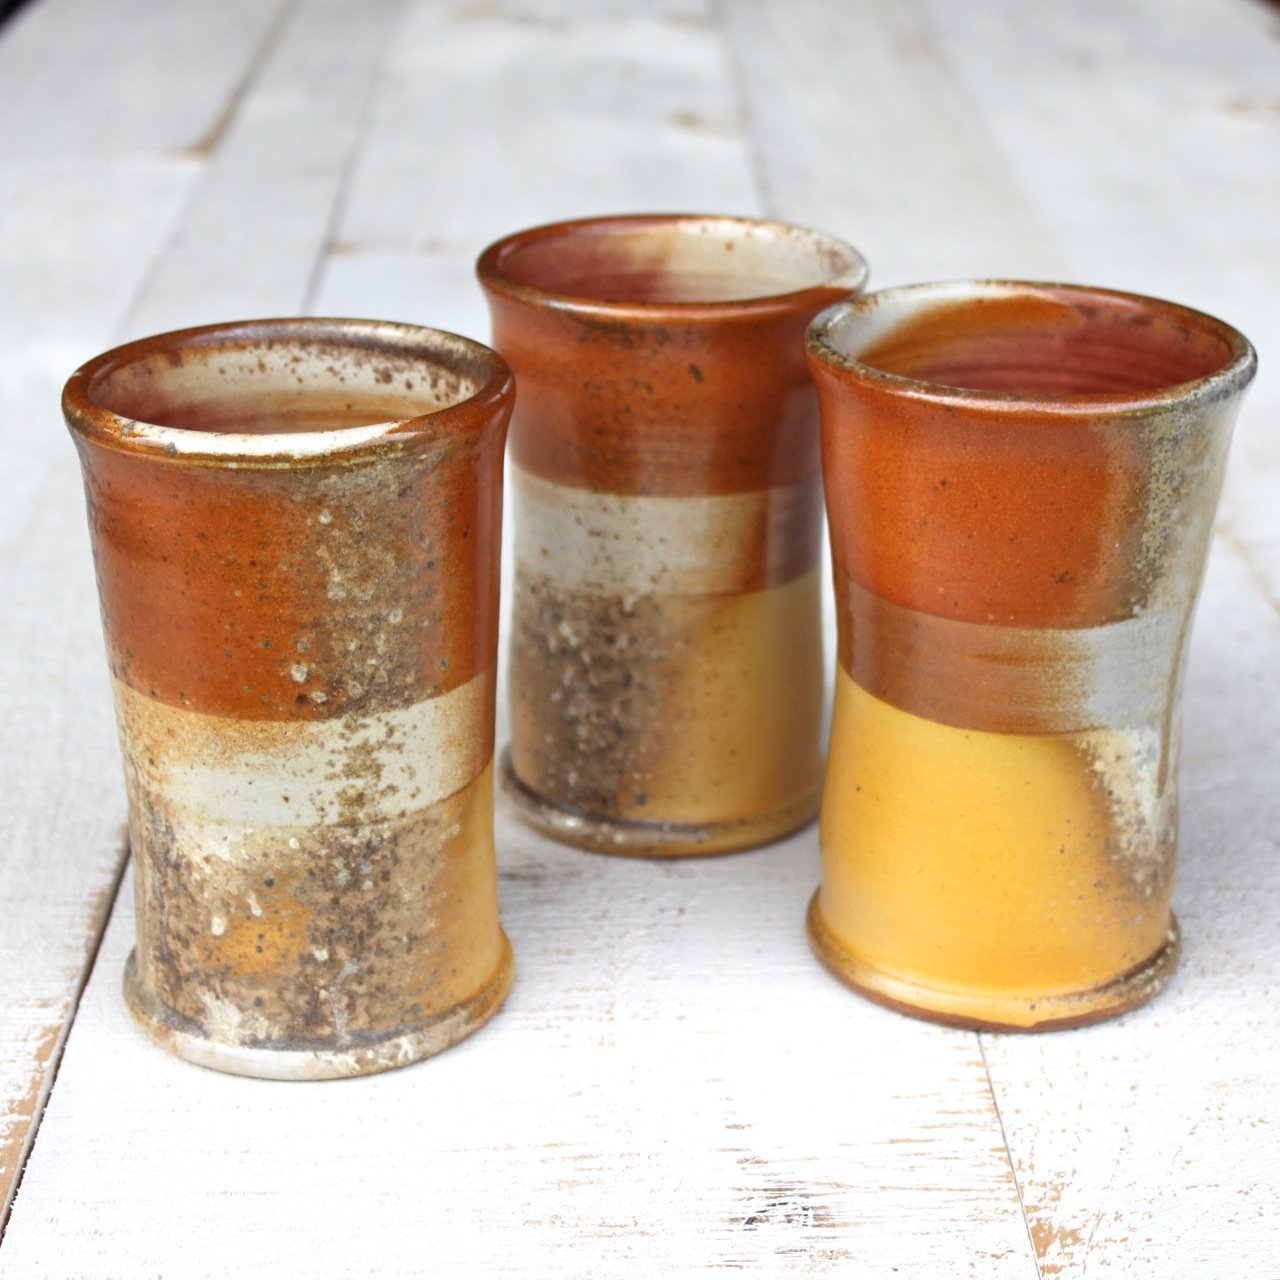
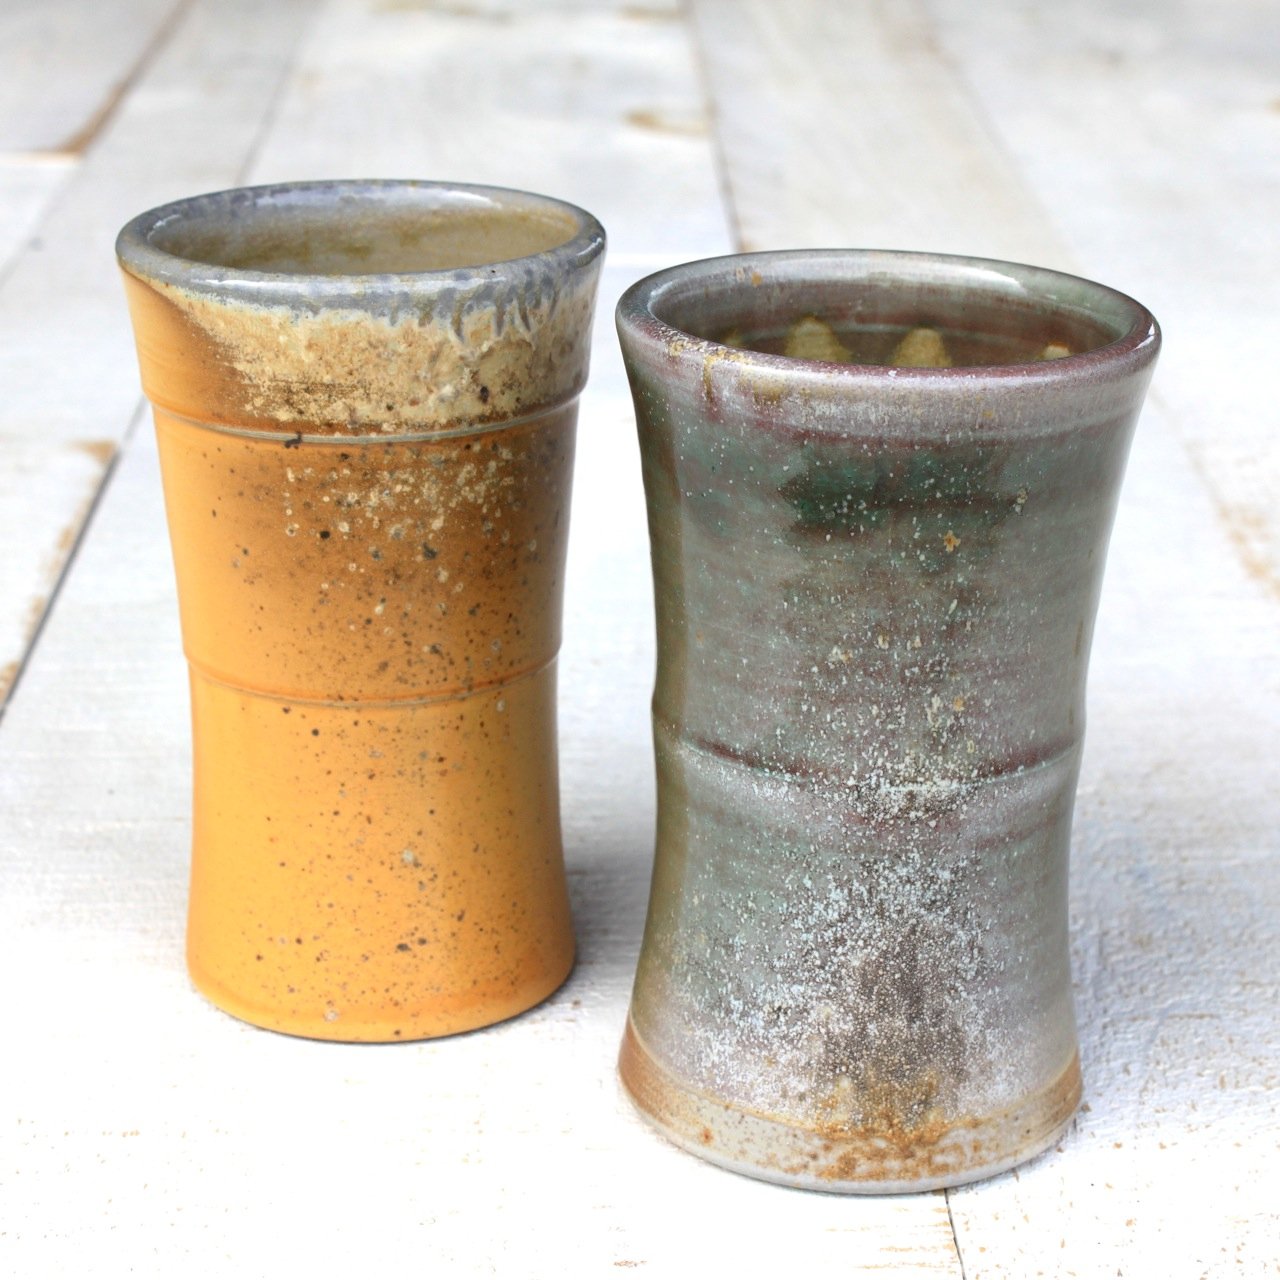

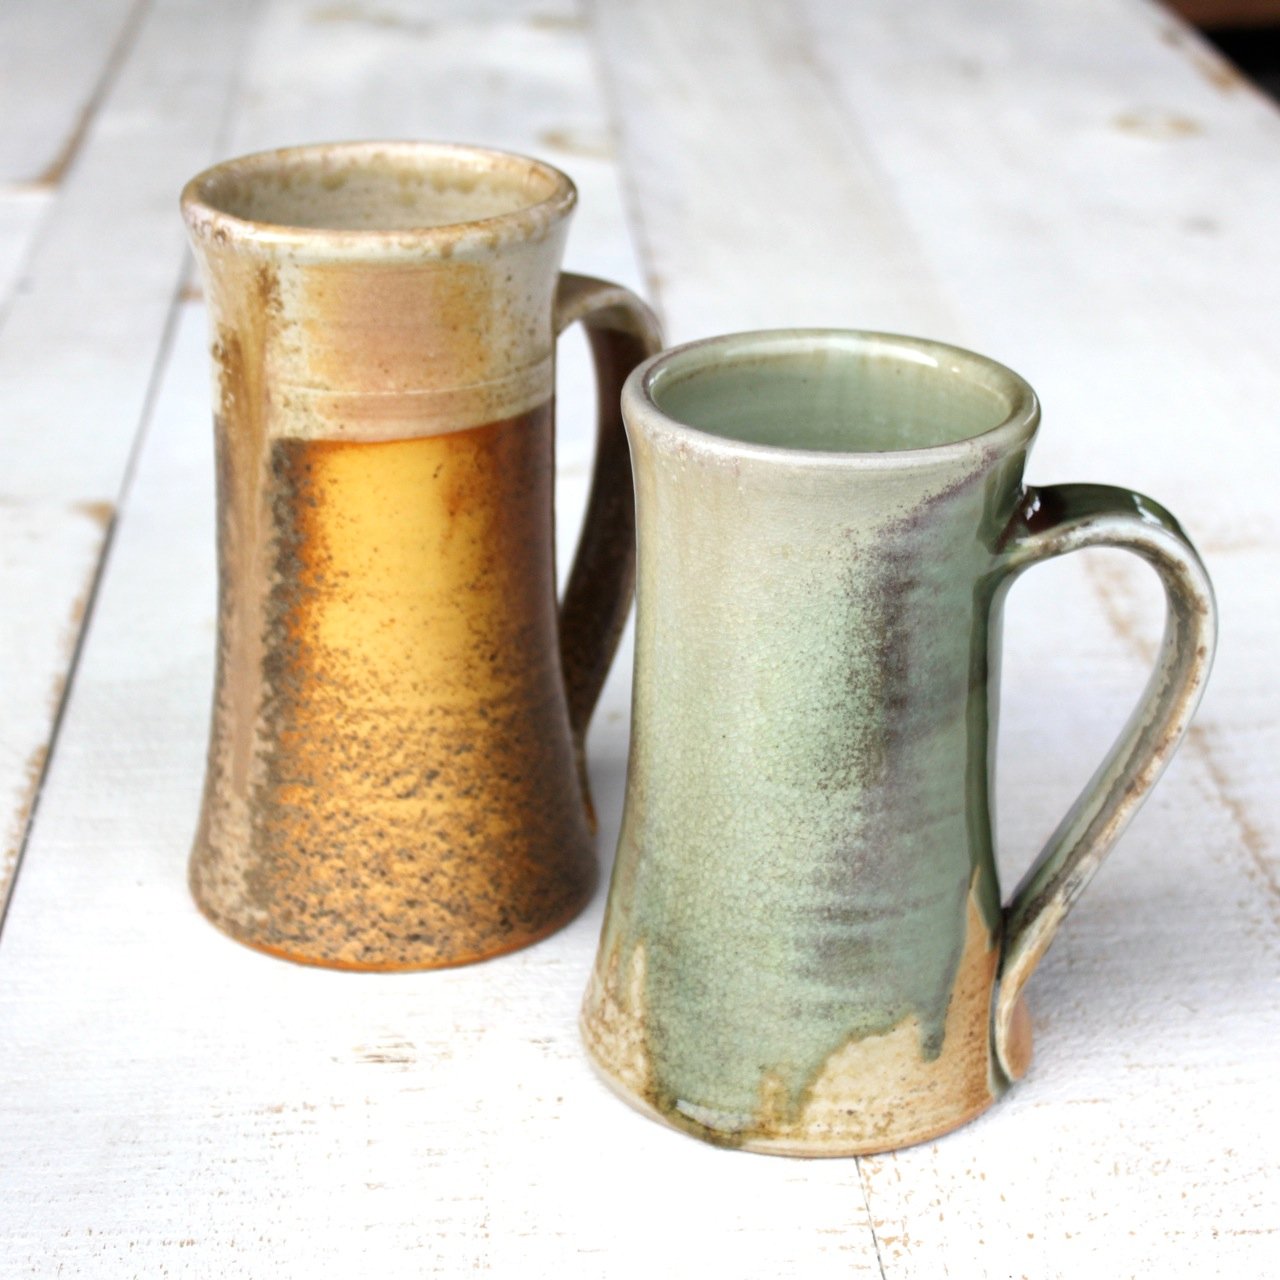
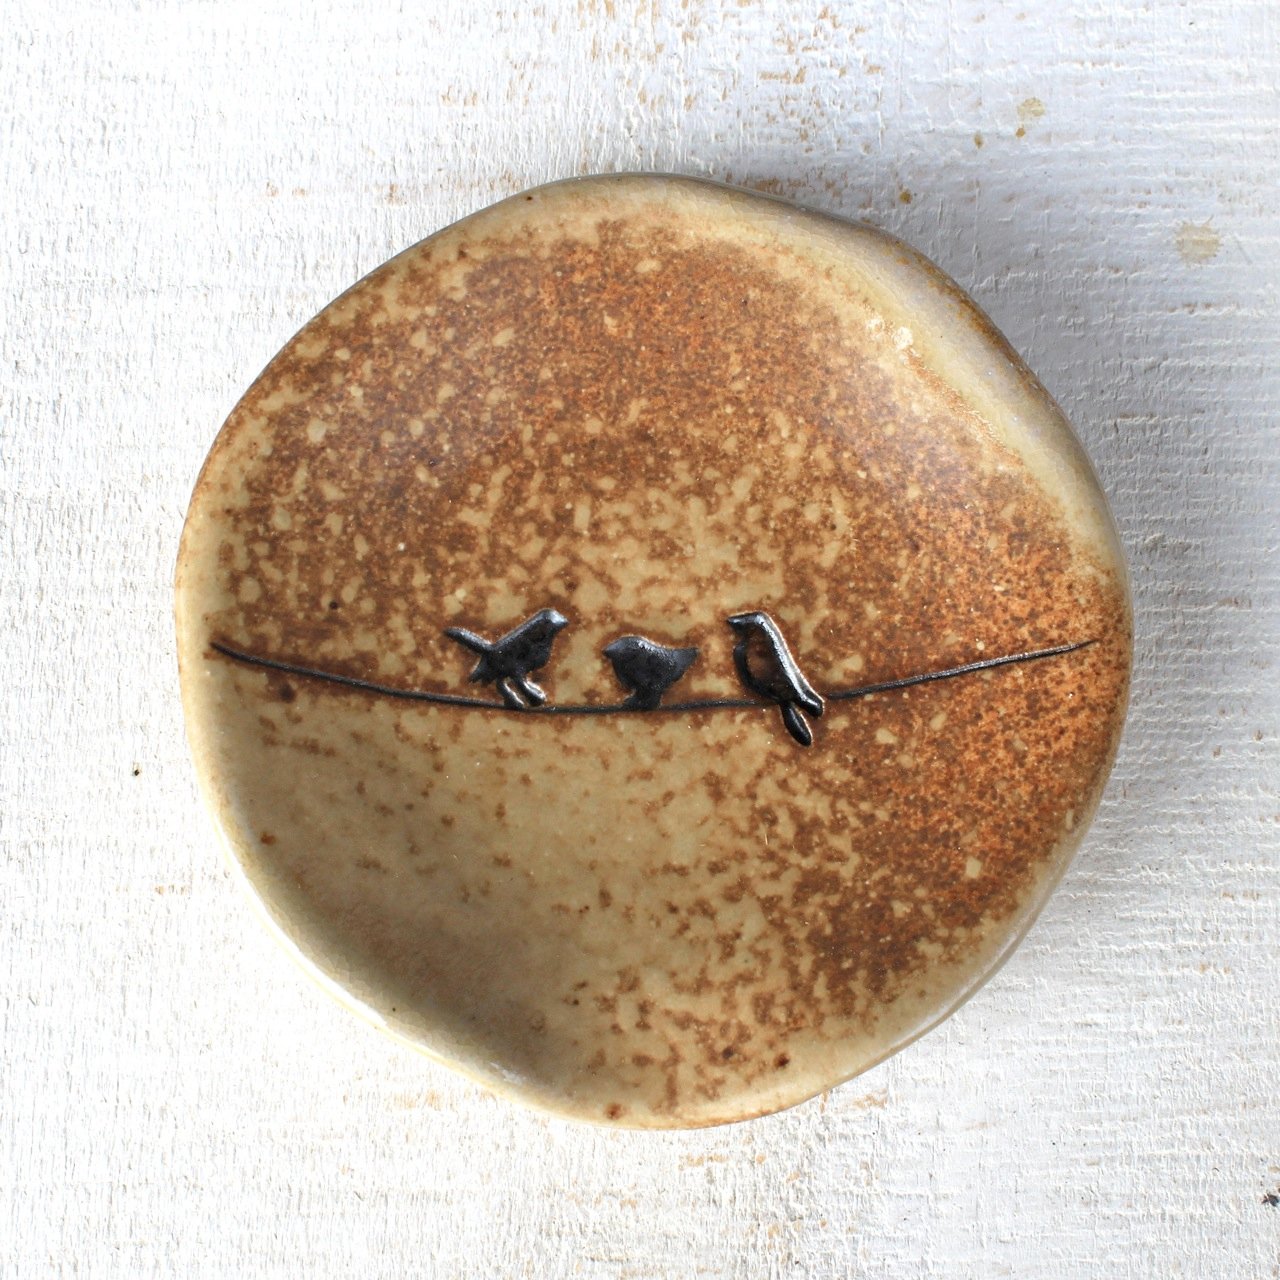
We'll be posting new pieces to our Etsy shop in mid-August. Stay tuned!
two potters photo tour
It was a really special summer for us. Both for our young family, and for our business. (We thank you wholeheartedly for that!) But honestly, where did it go?! Life seems to have only sped up as we do the juggling act of work-at-home + stay-at-home potting + parenting - I often think about that expression "the days are long, but the years are short." So true. Our baby girl is nearly one . . . but I digress! Here are some of our favorite photos from our summer . . .
In the studio . . .
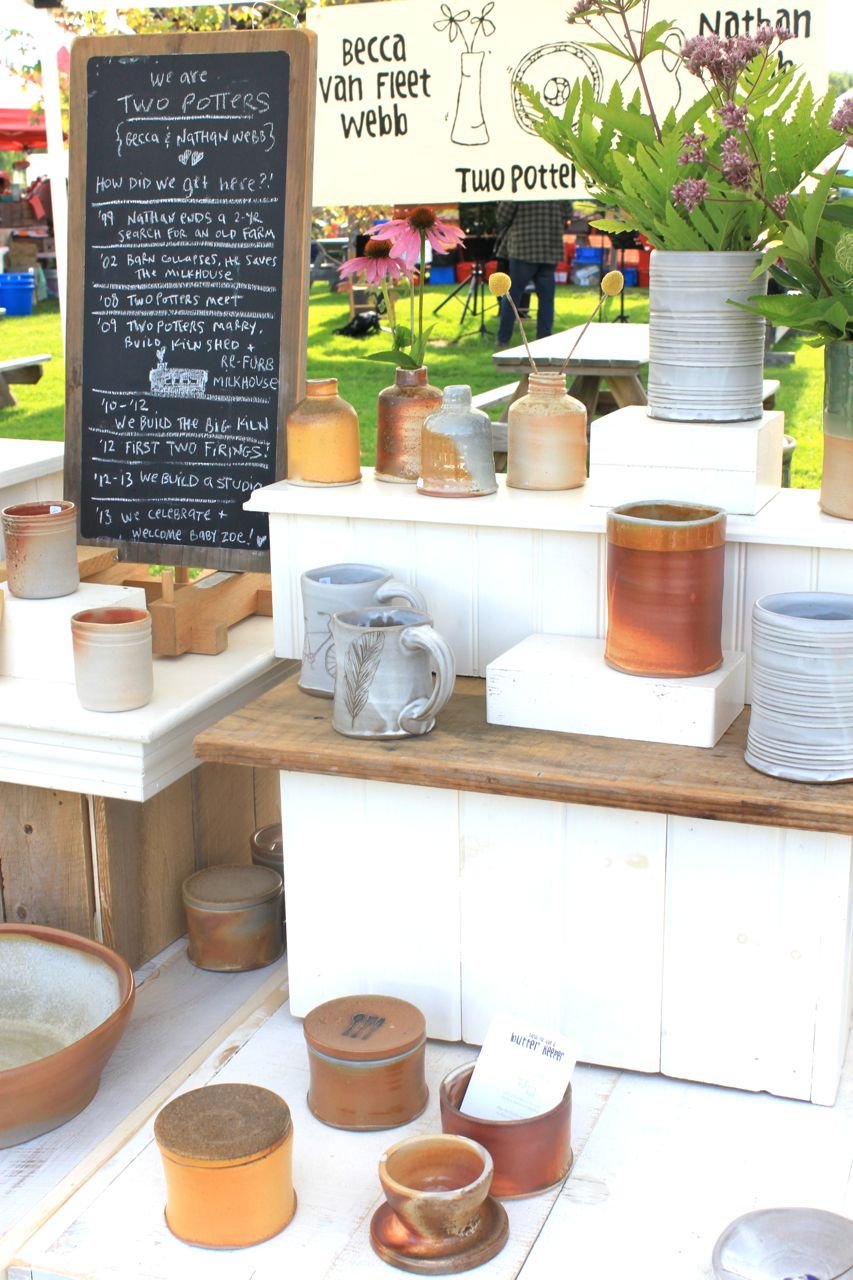
. . . at shows and markets . . .
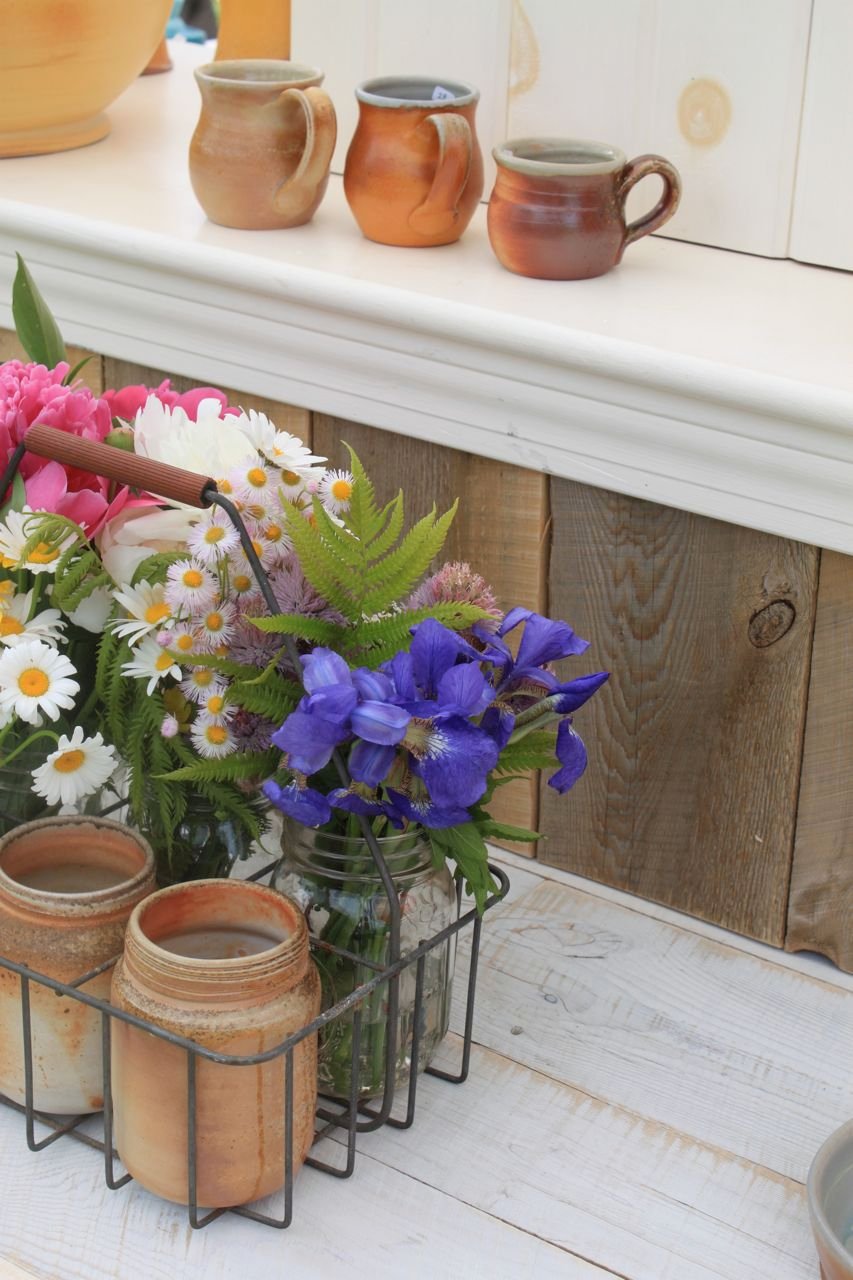
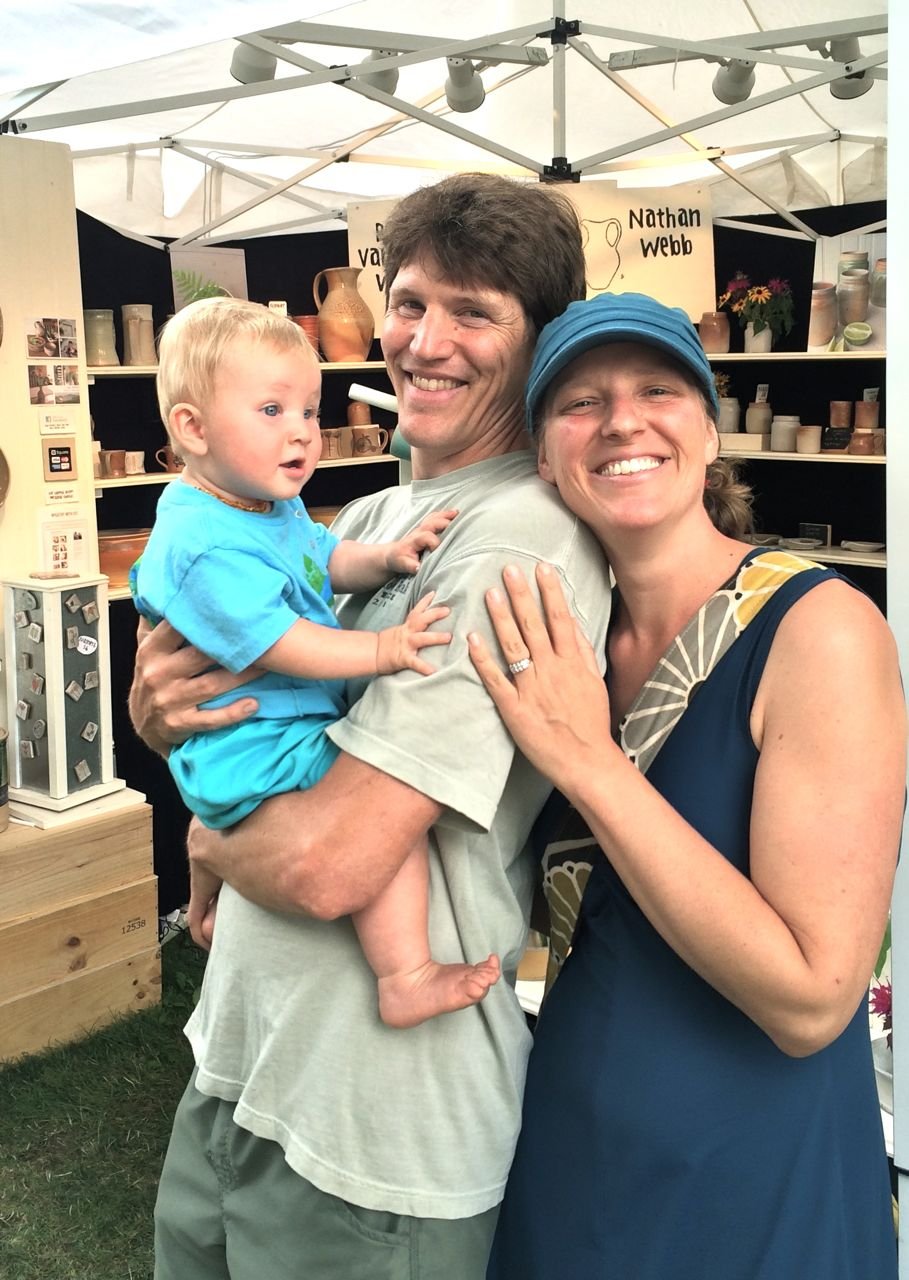
. . . and always with the camera and our pottery . . .

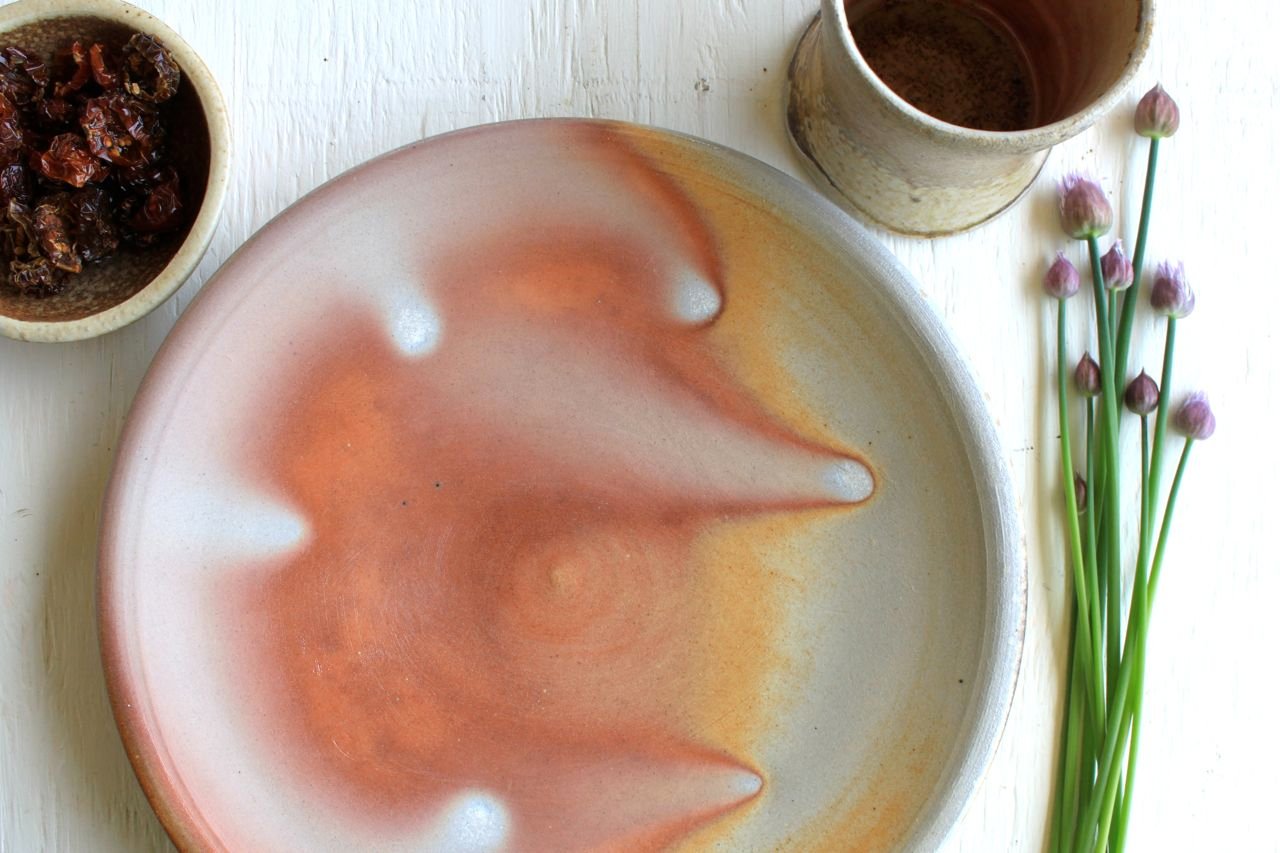

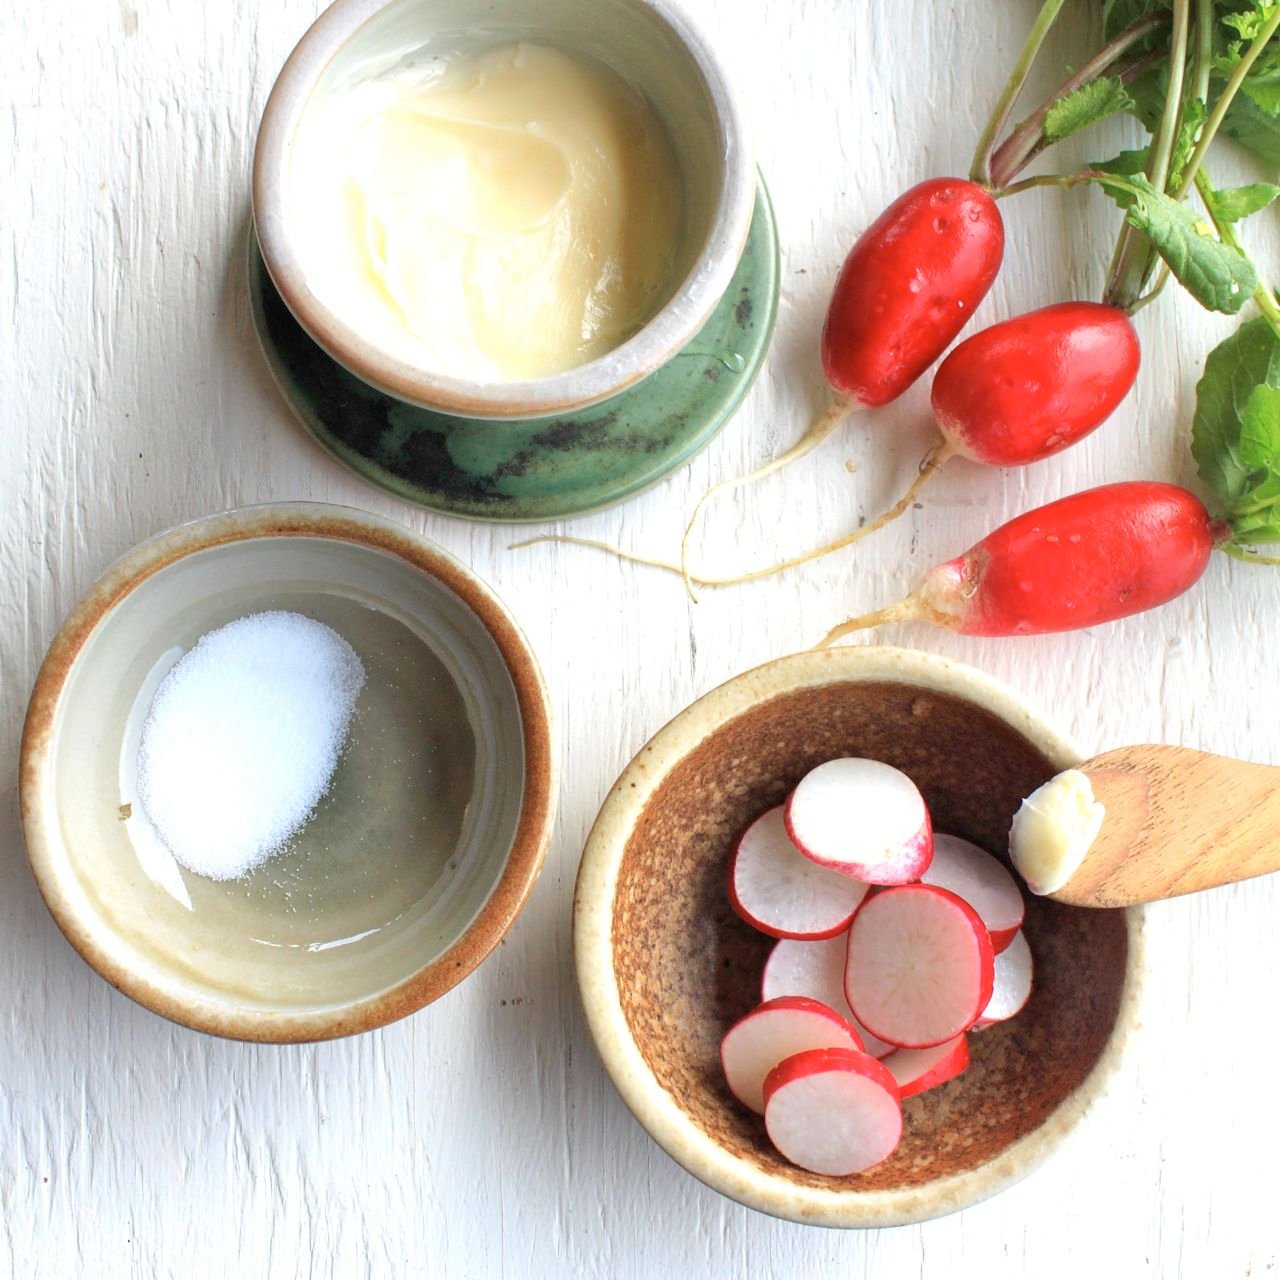
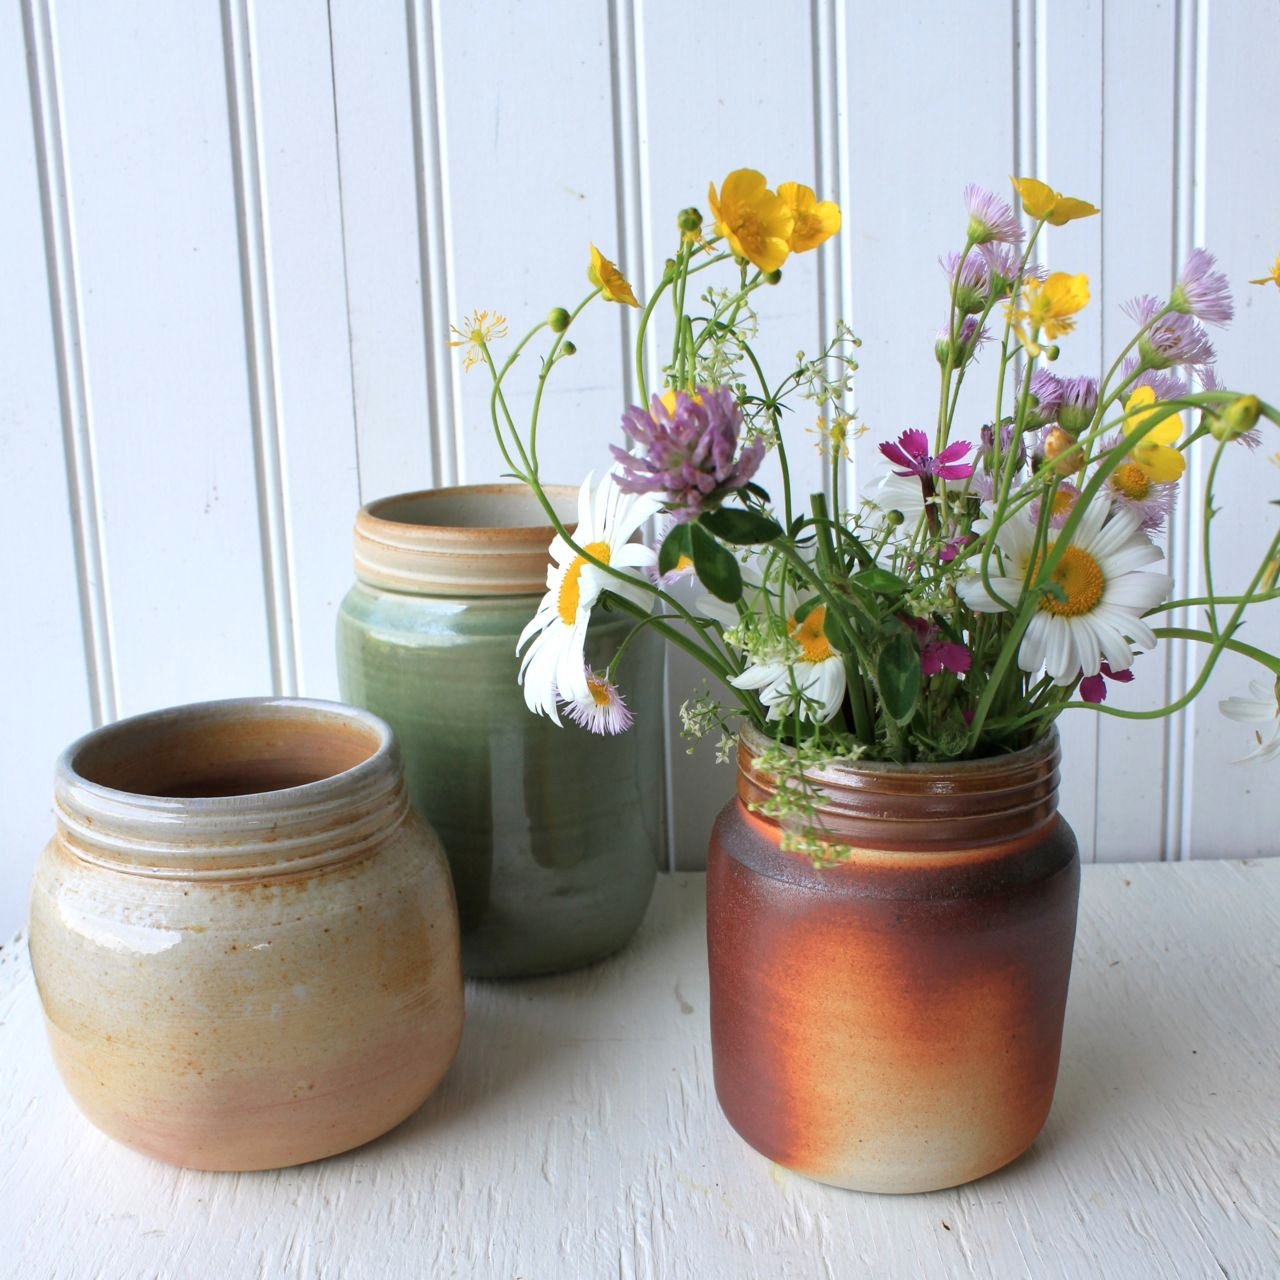
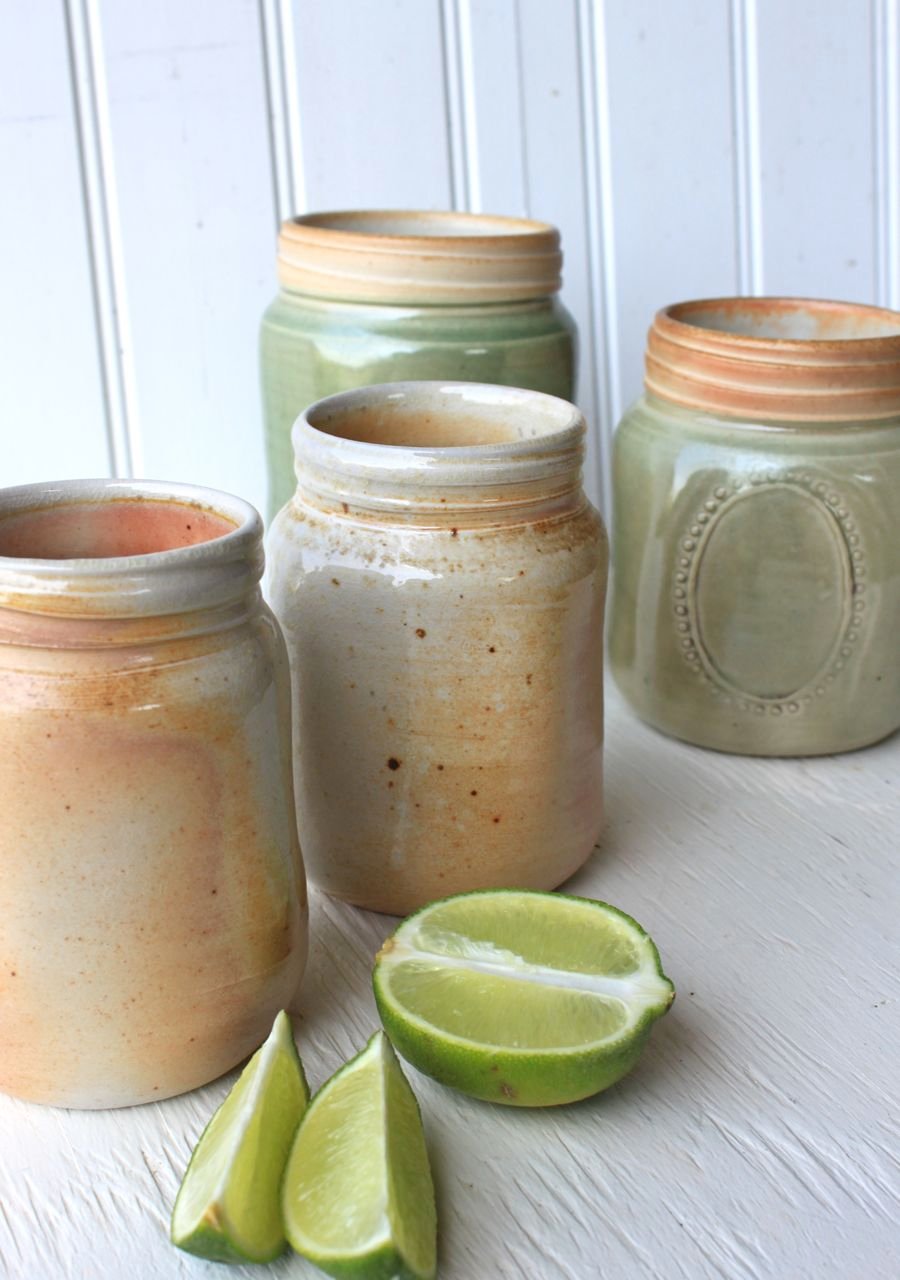
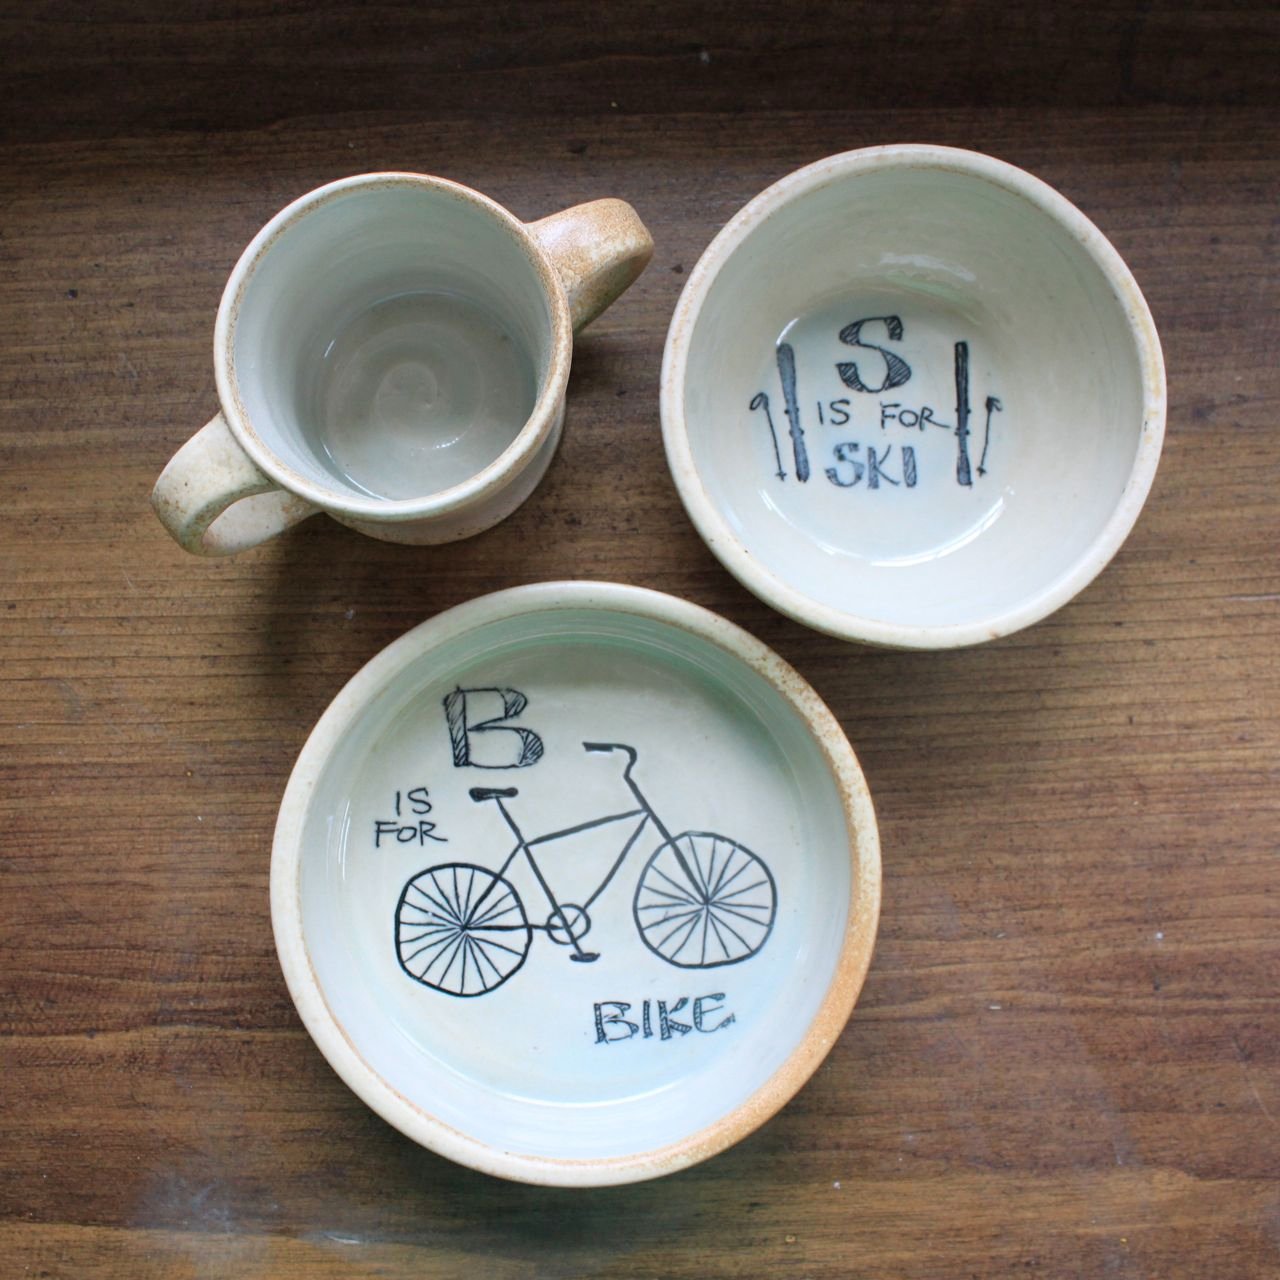
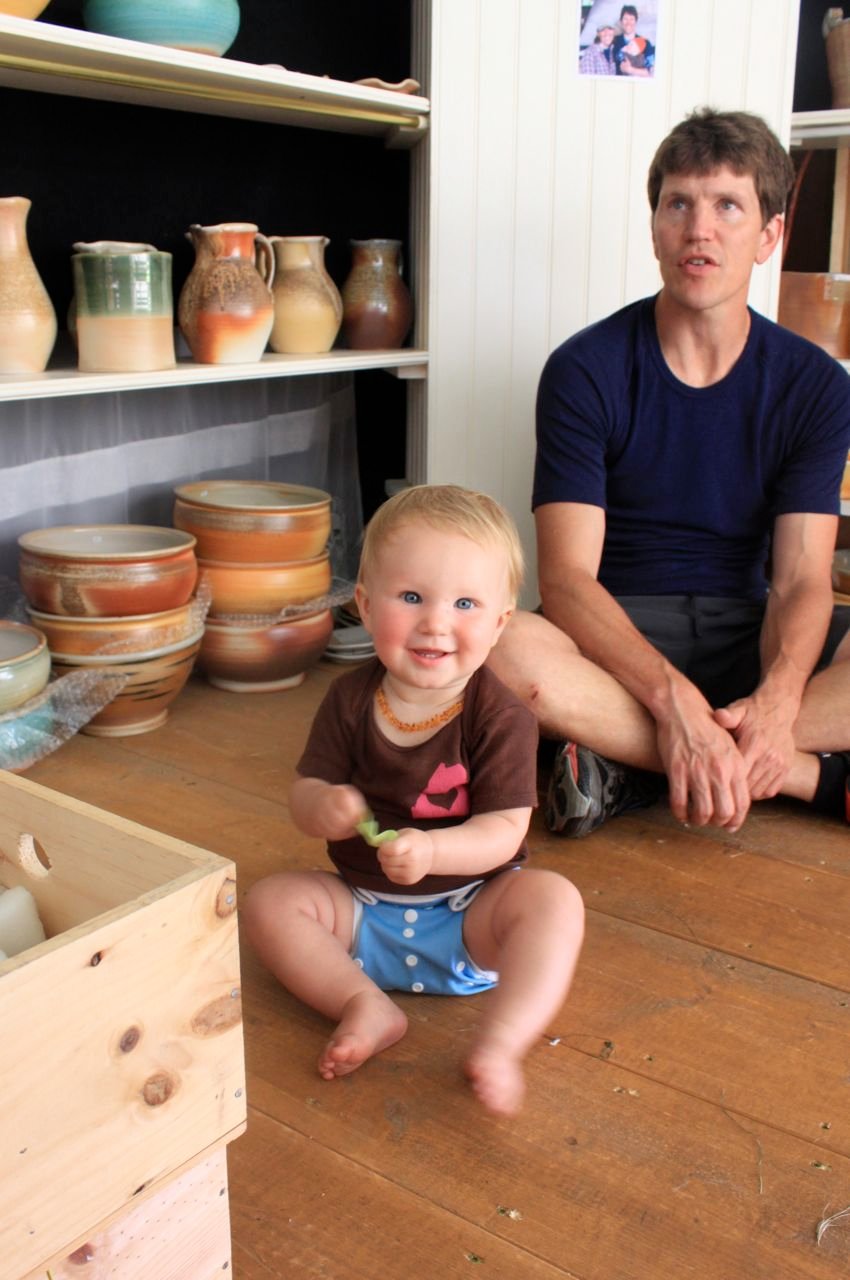
. . . and on the home front . . .
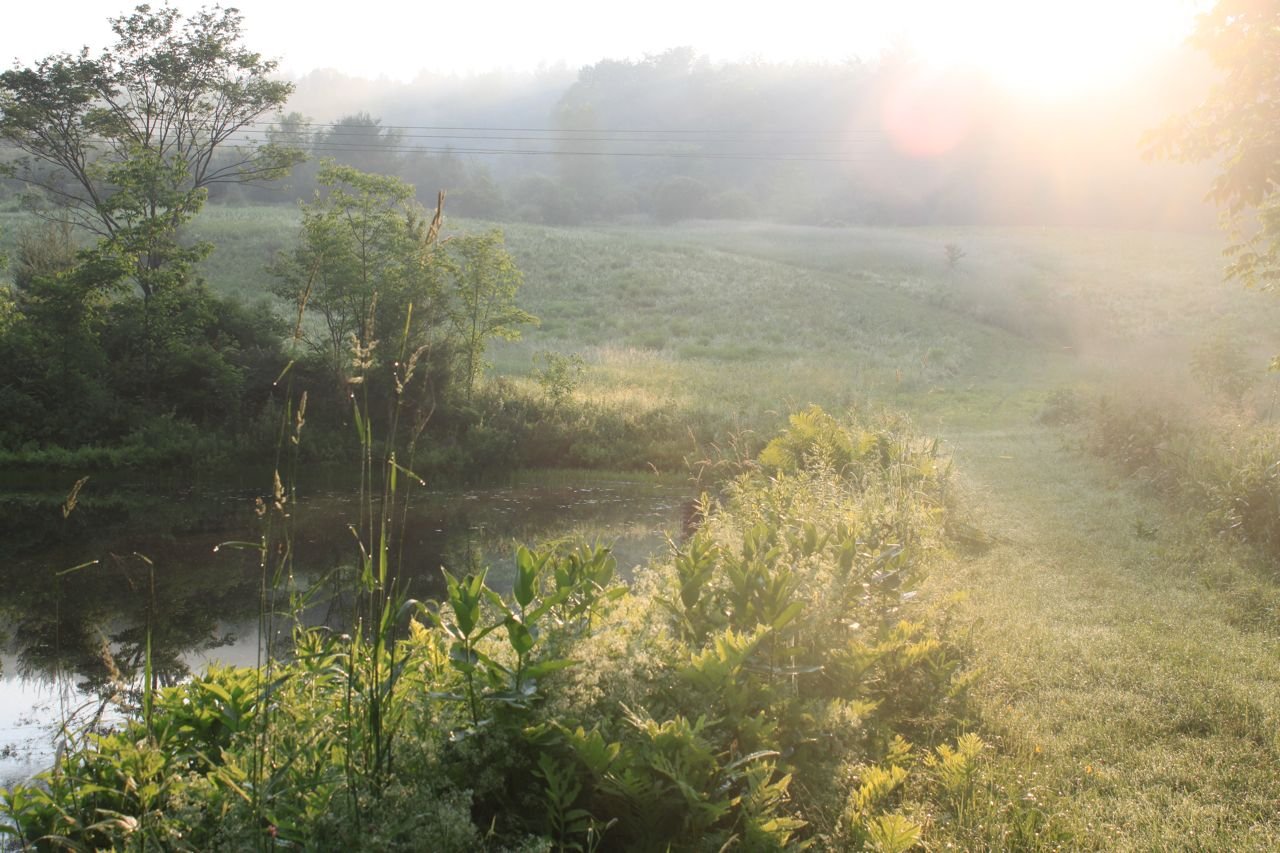
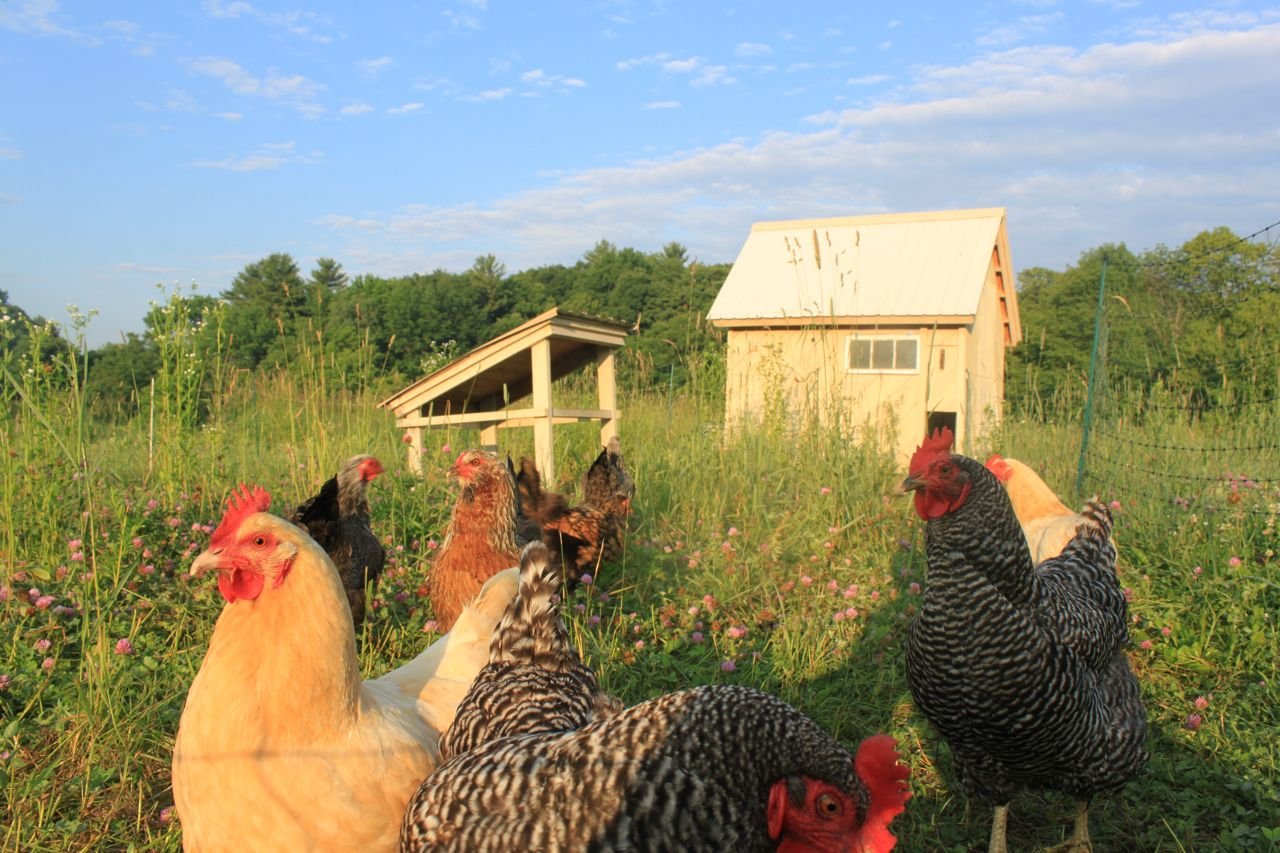

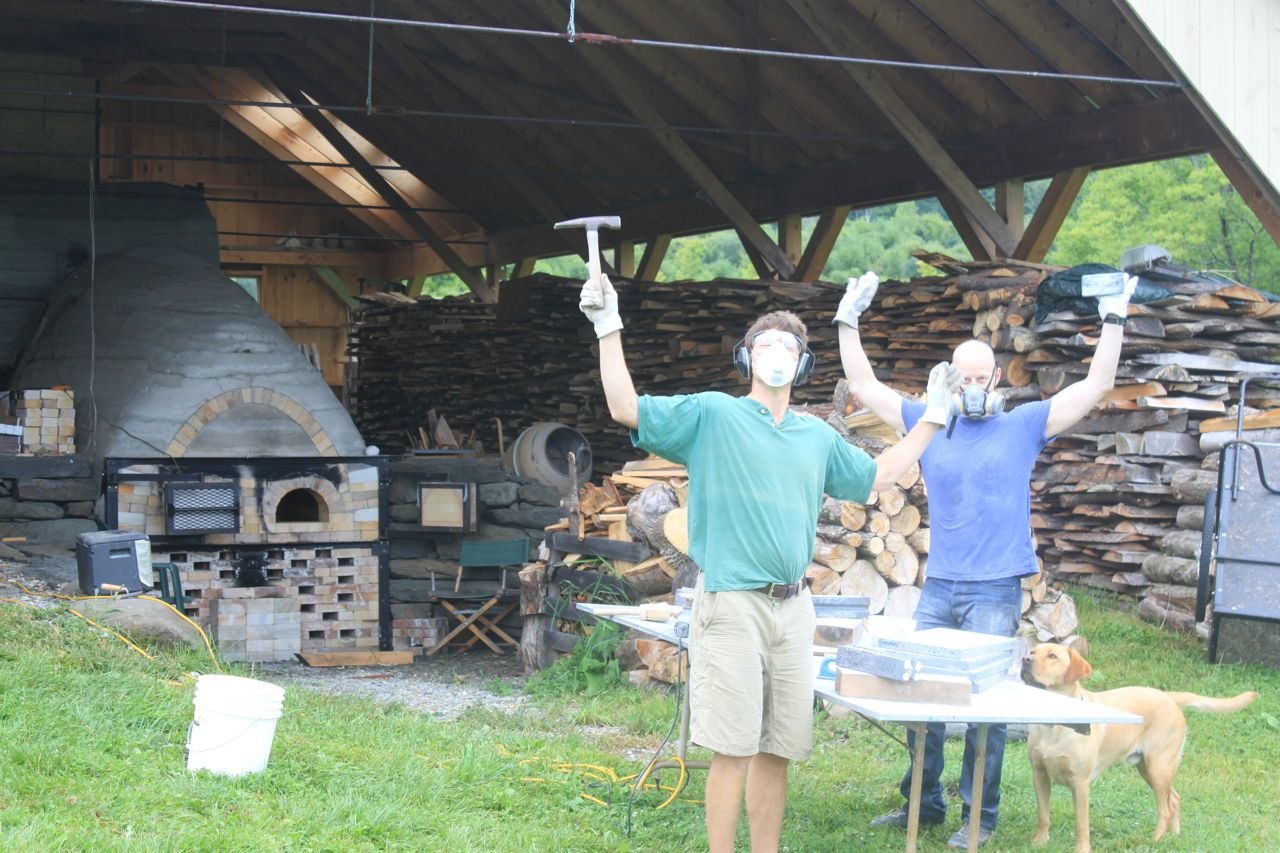
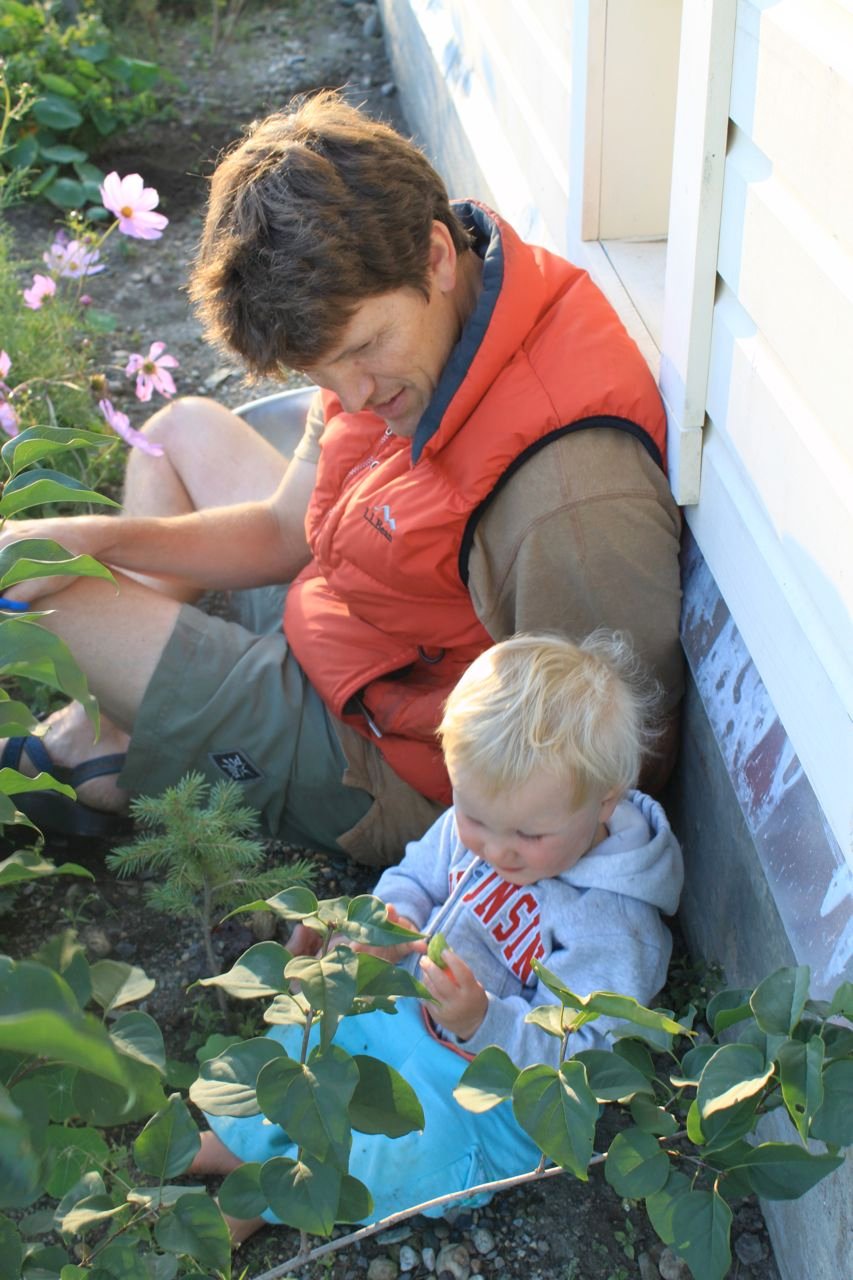
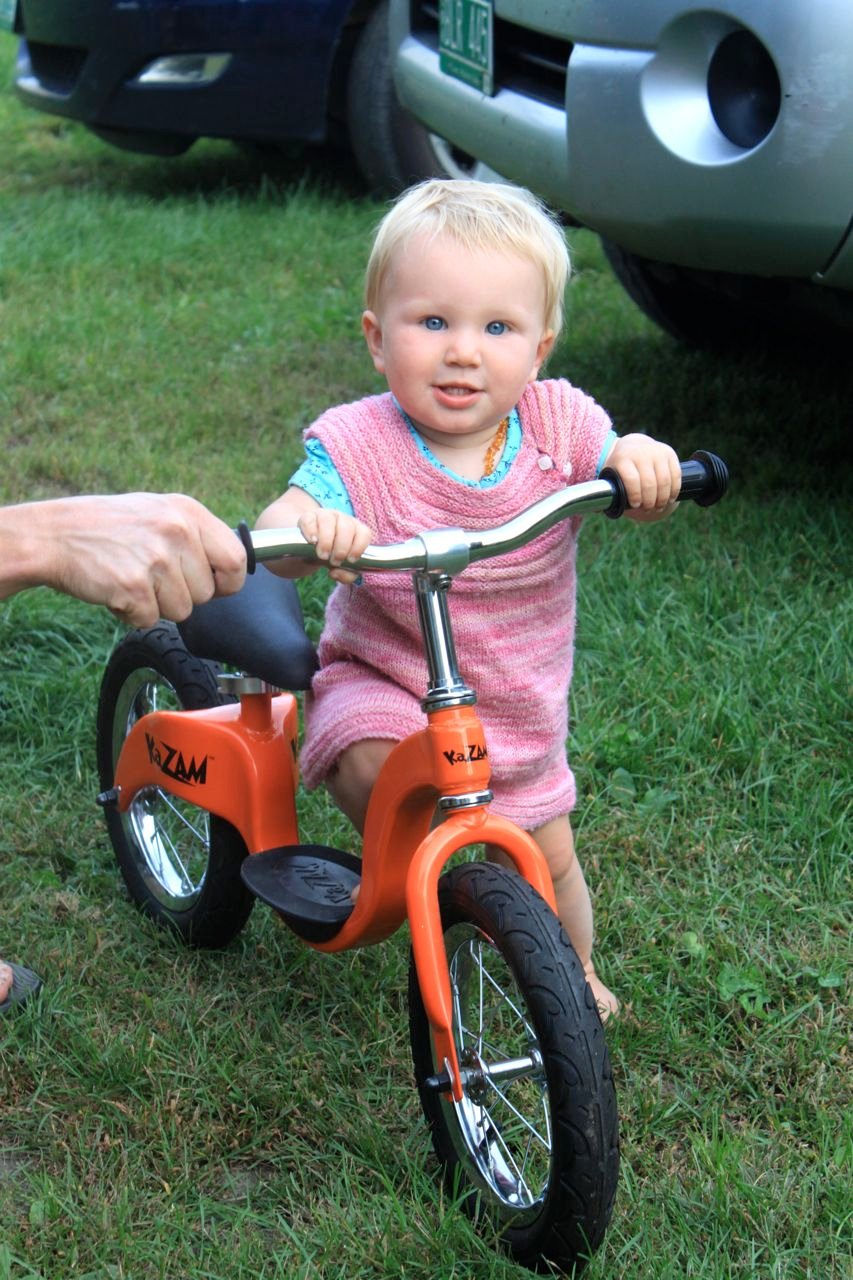
A memorable one, to be sure . . . <3
We'll be OPEN next weekend for the Vermont Open Studio Tour! There are over 100 studio open around this beautiful state - here is a link to the state wide map, and here is a link to a map of our local region (Bethel/Randolph), including some of our favorite places to grab a bite. Hope to see you. Saturday and Sunday October 4th + 5th, 2014, 10am to 5pm. (current events listed here)
~Becca
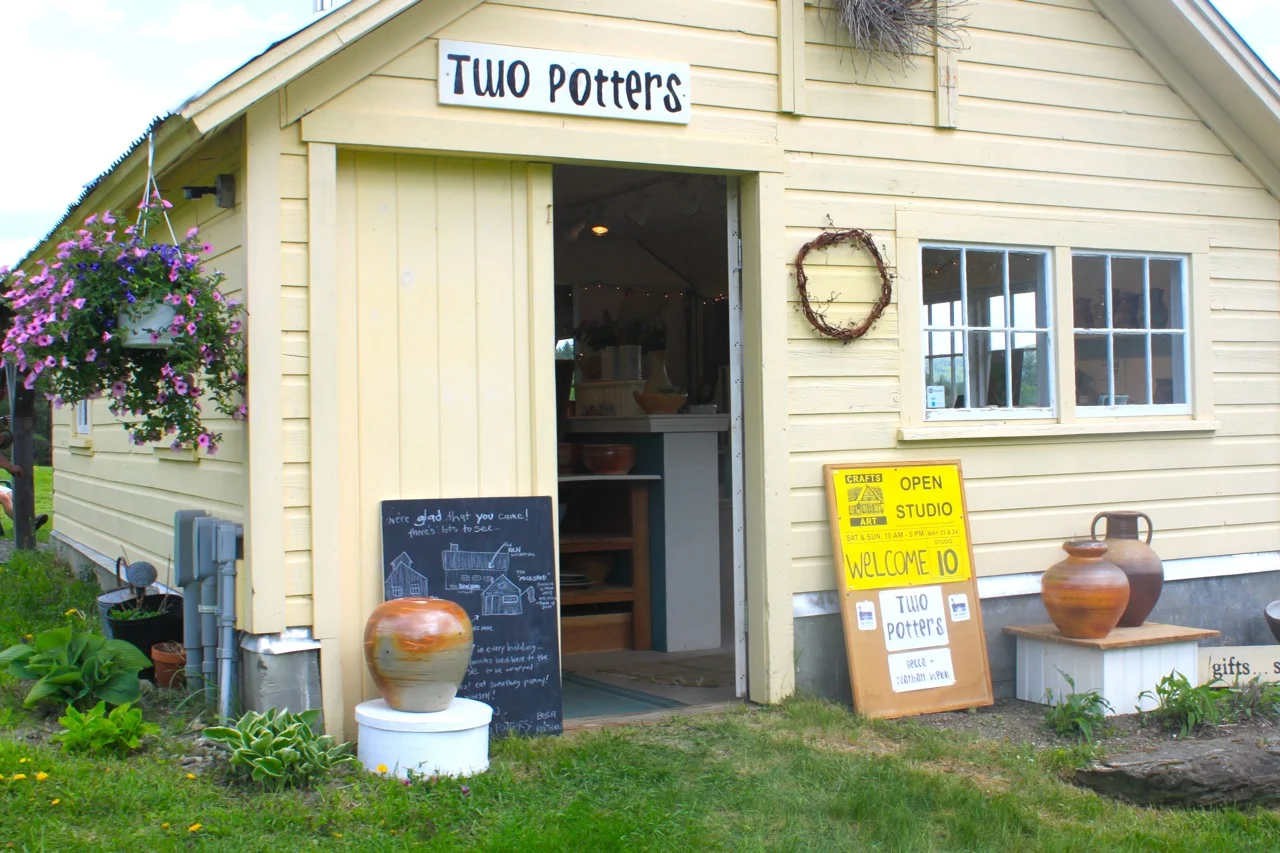
visiting our studio
{This post features photos from one of our past Open Studio events - join us for the next one listed here}

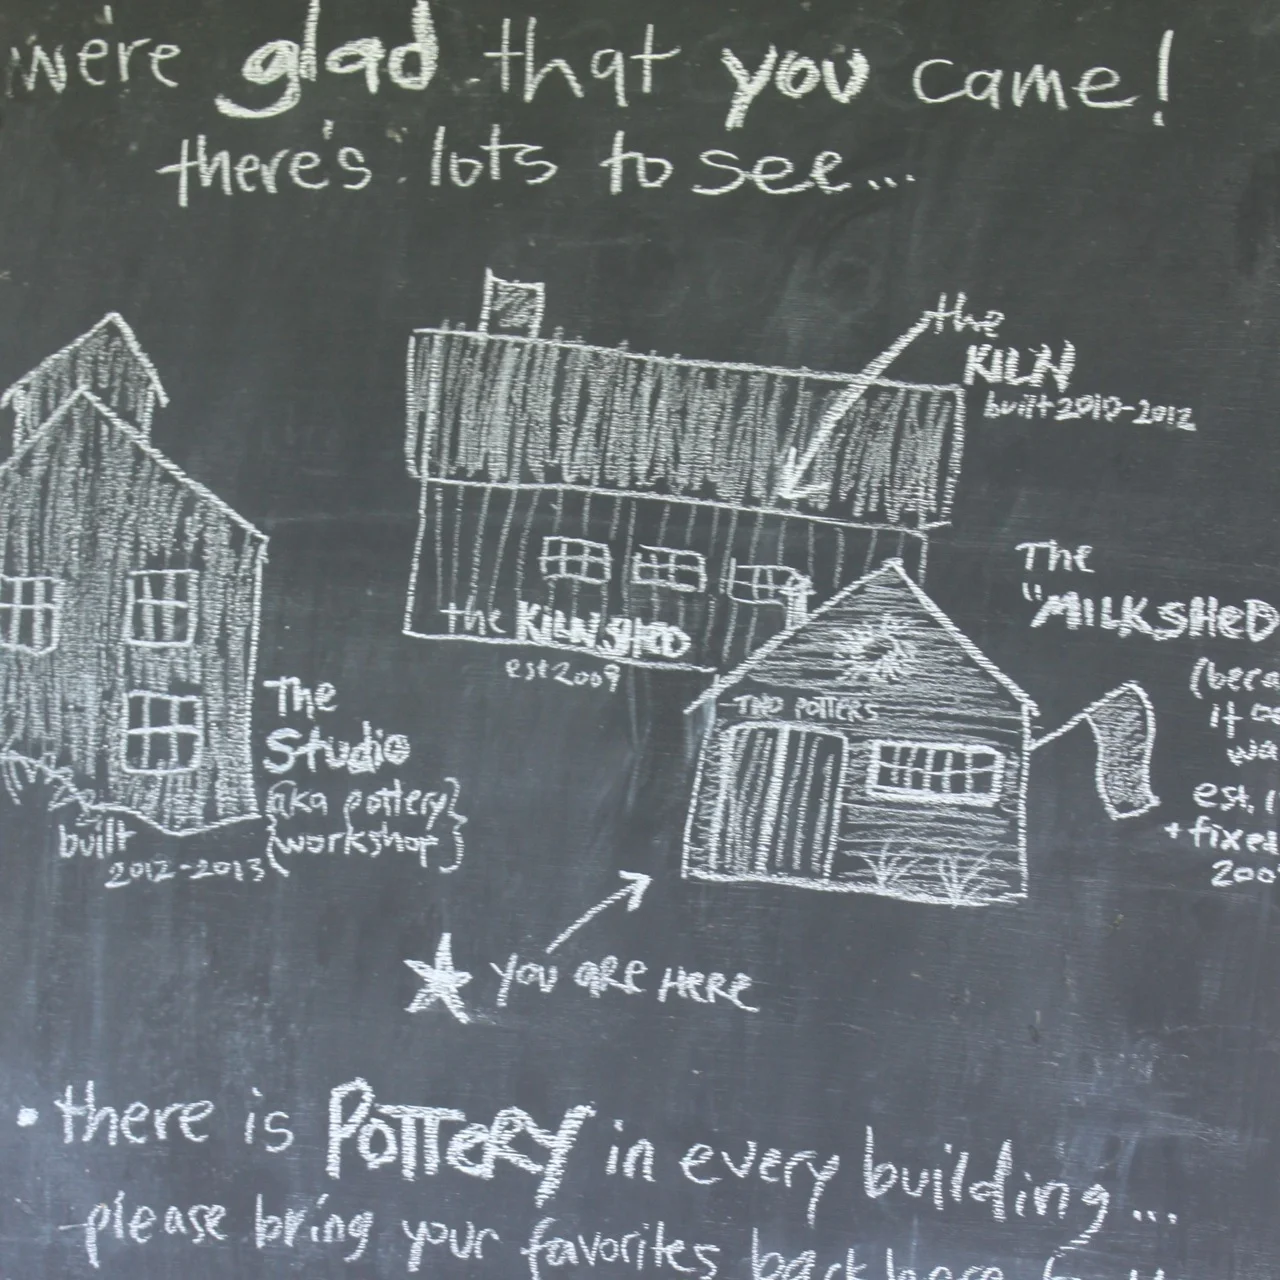
Vermont Open Studio Weekend Two Potters
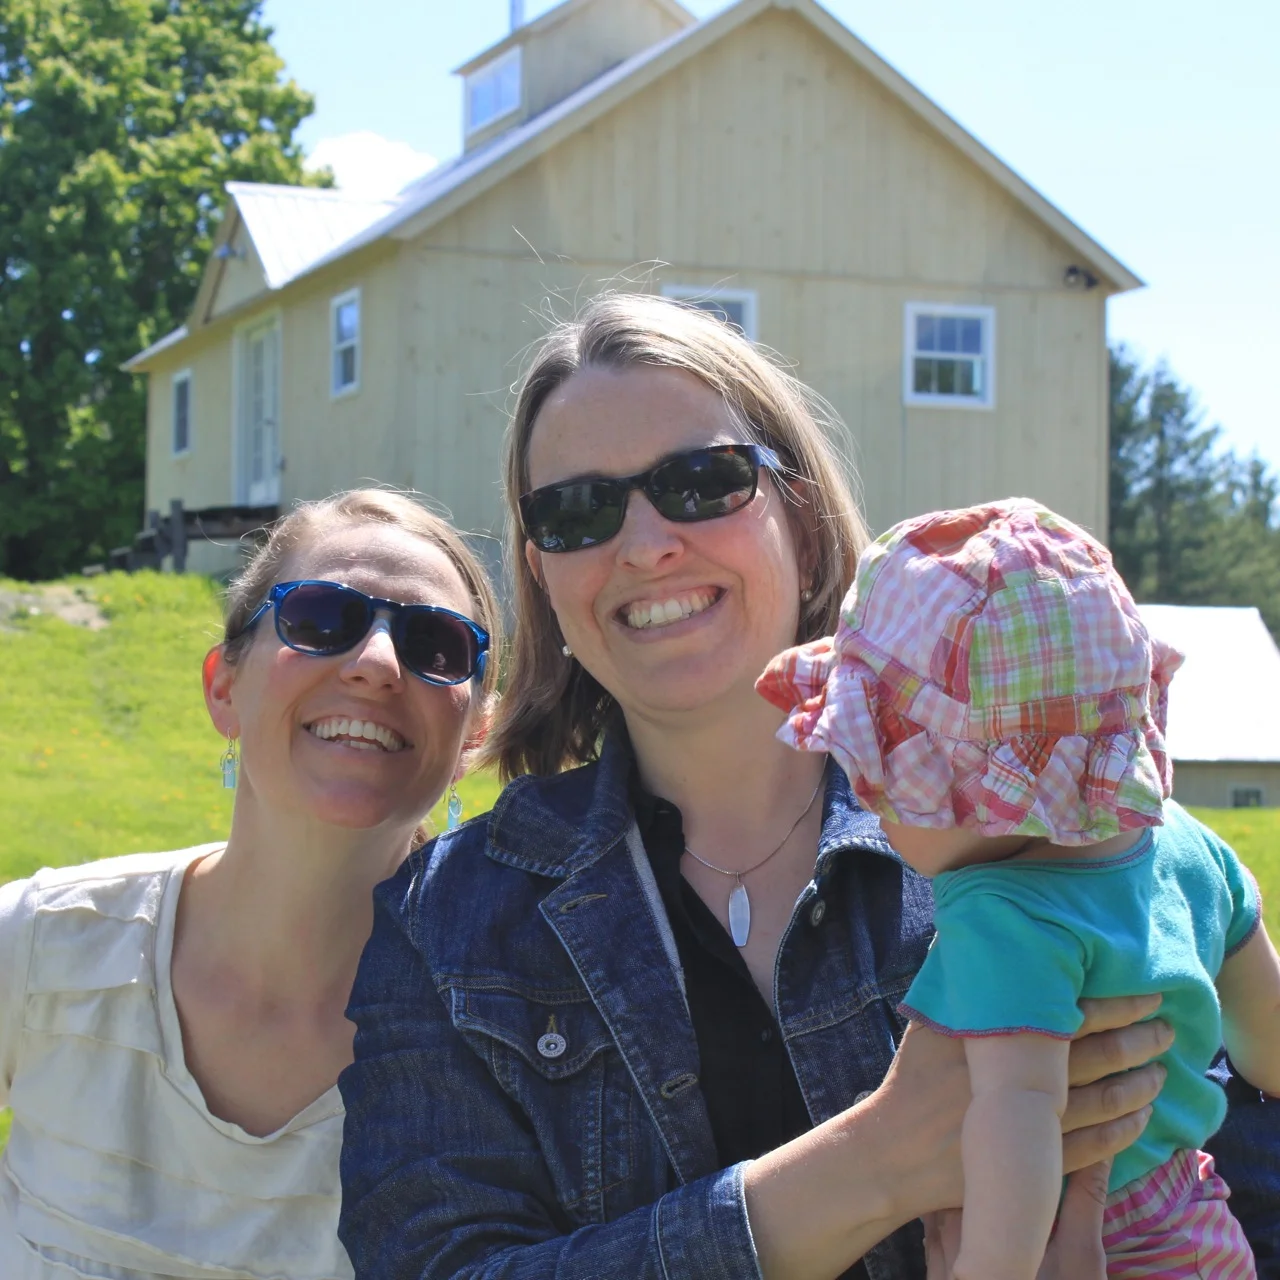
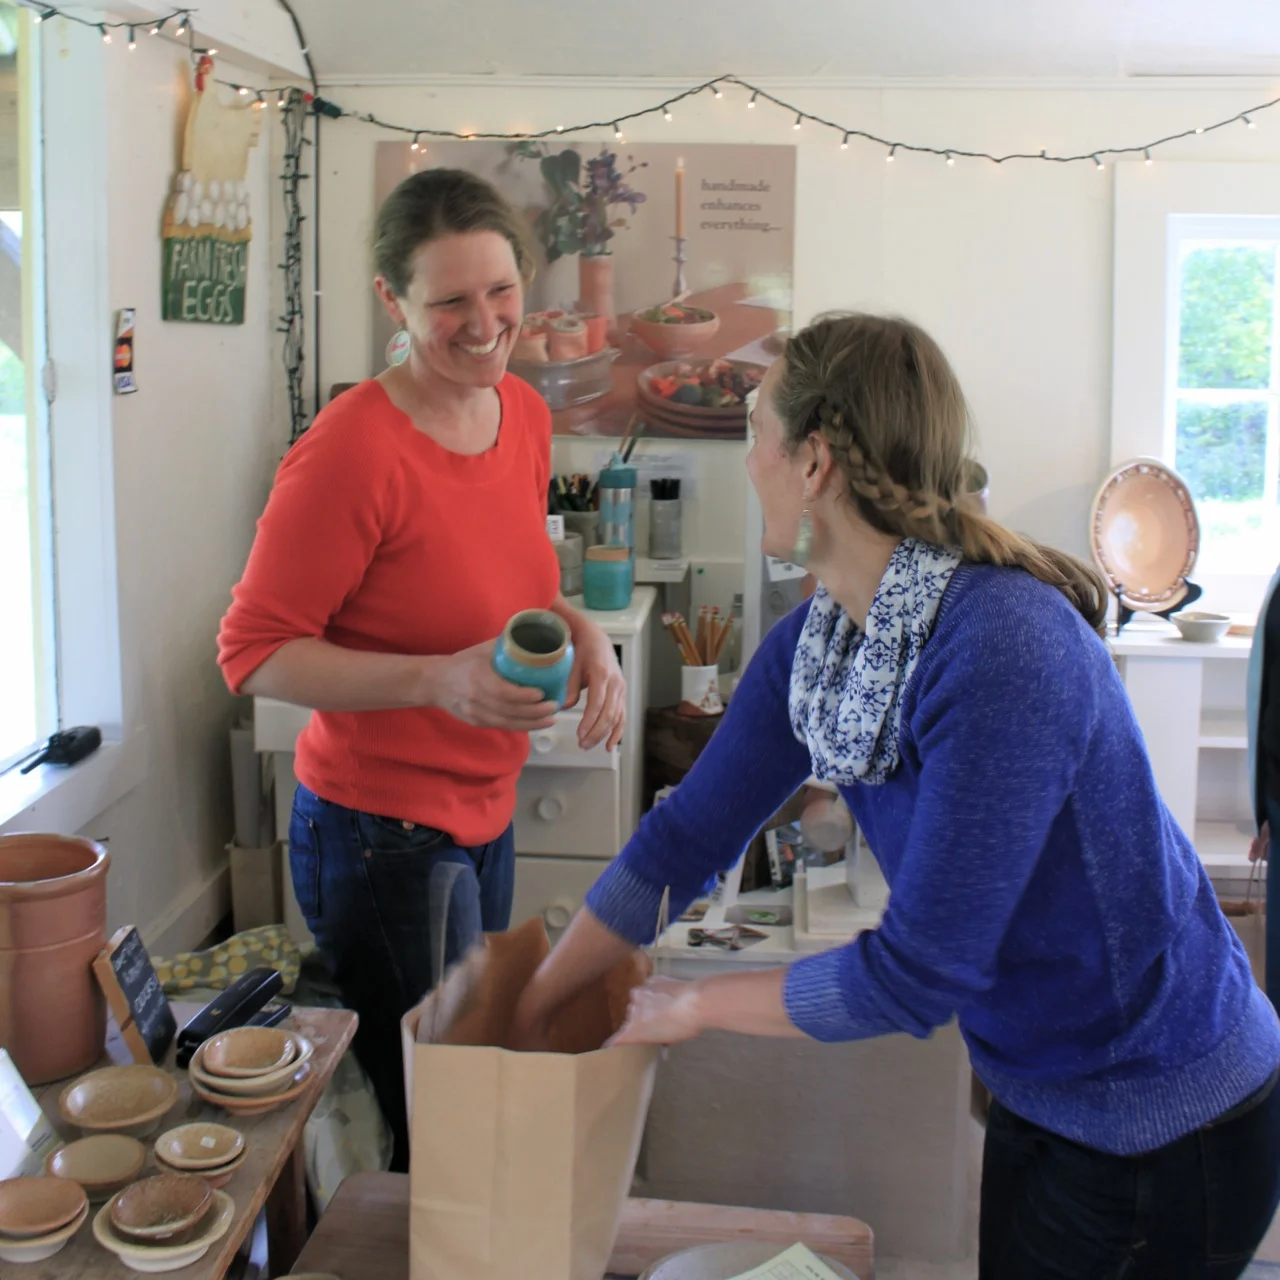
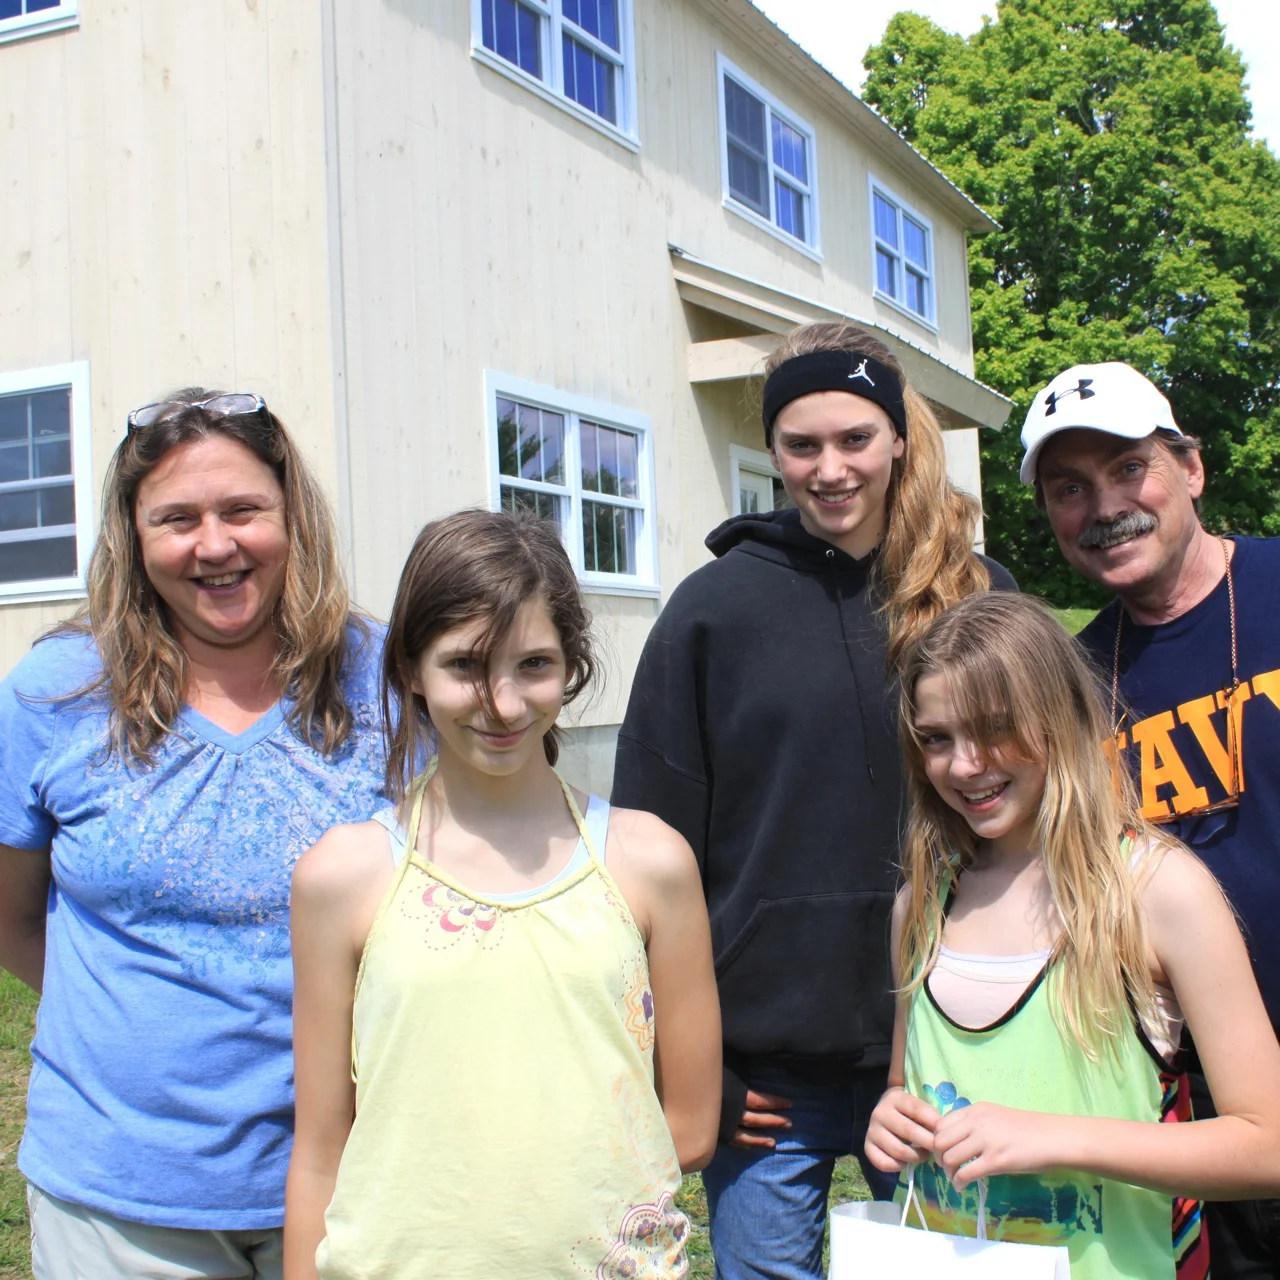
We had a wonderful weekend for the Vermont Open Studio Tour. Thank you to all who turned out to see our latest firing and enjoy some great live music (thank you Matt, Adam, and Carrie!) under the tractor shed. It felt great to have family and friends and babies soaking up the bright sun and brilliant green colors of spring.



Out at the kiln, there was much to celebrate. Our firing wrapped up last week, and had been cooling until the day before the event. Happily, it *appears* to be our BEST firing to date. (And I say 'appears' because we haven't finished unloading its vast chambers!) It was really fun to be able to show folks the inside of the kiln with freshly fired pottery still inside.

wood kiln at Two Potters Bethel Vermont

the soda chamber at two potters

unloading the wood kiln at two potters

butter keepers Two Potters
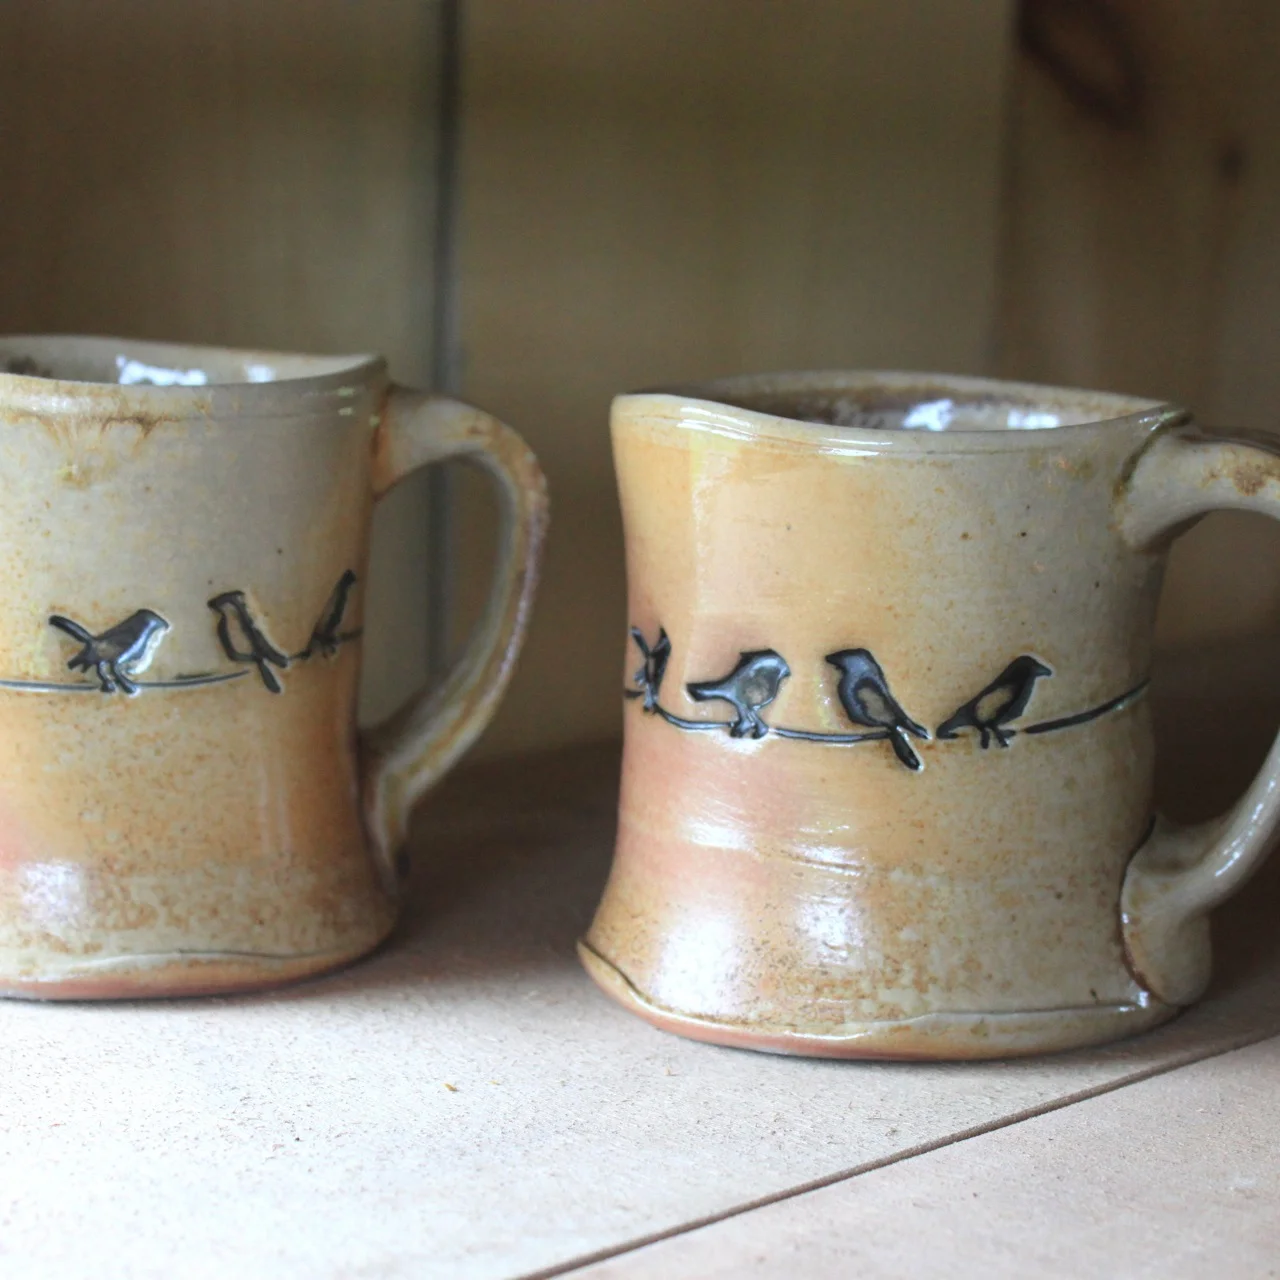
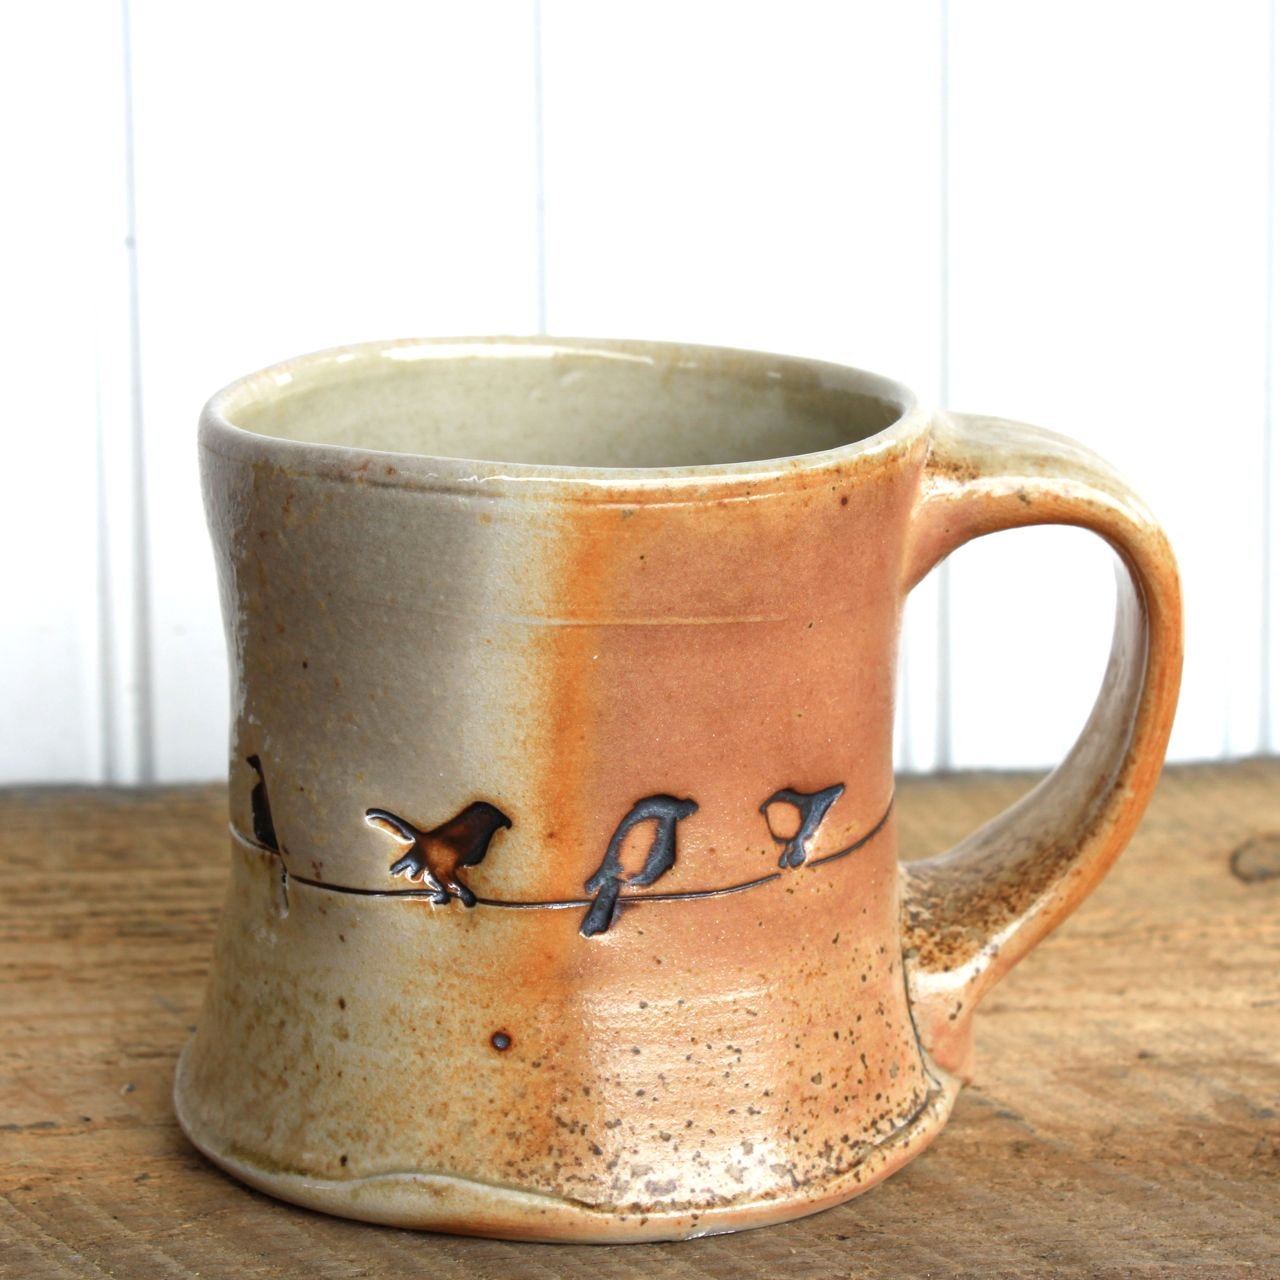
bird mugs

wood fired pottery

bowls by Nathan Webb of Two Potters

canisters, fermenting crocks Two Potters

{You can visit us at our next Open Studio event by checking the dates here.}

coming up for air : third firing done!
The last few weeks here have been very full indeed. While the kiln is slowly cooling, we finally have some time to tell you about it! Since moving in to our new studio in early May, we've had about eight weeks to fill the two large chambers (about 350 cubic feet) that make up our wood-fired kiln. Thankfully, the work in our new space flowed beautifully, and the storage racks we built there and in the kiln shed enabled us to throw as fast as we could keep up with the drying pots.

Scenes from Becca's studio . . . peony-scented pottery making. :) Lots of mugs and cups were in the works here . . .

mugs in process


Becca's baskets
And bowl/baskets and plates galore!

Over on Nathan's side of the studio . . .

There is sometimes (okay, rarely, but it's fun) an audience above to watch things get made from above. (Eventually, the showroom of finished work will be upstairs, so if you're shopping for pots, you might see them being made below!)

The glazes get stirred and the raw pottery lined or dipped into glaze.


Almost all of our pottery gets glazed without being fired first - we skip the bisque firing - so it's raw or 'green.' Although this took some getting used to, this simplifies the process for us in many ways, and the piece is completed in one breath, so to speak. We do, however, have to fire the kiln much more slowly as a result, ensuring that we don't 'shock' and crack the pots.

Once glazed, the pieces dry on the racks . . . and then get carried out to the kiln shed, board by board. (When it's not raining - which has been rare these days!)


We closed in the west wall of the kiln shed last fall to accommodate nearly 100 boards of pottery and keep it dry and easily accessible for loading the kiln. This was our first time using this system, and it worked out really well. In fact, as it turns out, a full kiln load is MORE than a full wall's worth - 100 ware boards of pottery were set and ready to go.

After about two months of studio work, we had around 900 pieces. Included in this firing were also pieces from potter friends and neighbors - put some pots in, take a stoking shift!
From the kiln shed, we can see the new studio. We still can't quite believe that we built this between firings . . . it sure is nice to look out at our accomplishment.


The view in the other direction is also great . . . pottery headed into the first chamber! We begin by stacking the front, closest to the firebox where the wood burns. This area will get the most natural fly ash and bear the brunt of the heat. It's almost seven feet tall here, so a lot of pottery goes into this area.

A little farther back, in the middle of the big chamber, we loaded a lot of glazed pieces (there's not as much natural ash to do the glazing here), including Nathan's bowls which are designed to be stacked rim to rim to maximize height. The little wads of clay between them - and on the bottom of every piece in the kiln, are to prevent the pieces from fusing together or to the shelf they sit on.


Lego knew the best place to stay cool was inside the "cave" of the kiln on the cool bricks (cool for now, anyway!) . . . but pretty soon, there wasn't a whole lot of room left for him. And it does get a little dicey when he throws his 90 pounds around the fragile pots. :)

The loading took us about four days of very long hours. We often worked well into the evening with lights to keep us going . . .


Nathan got the very last pieces in with some crazy yoga moves . . . it's a really full load!

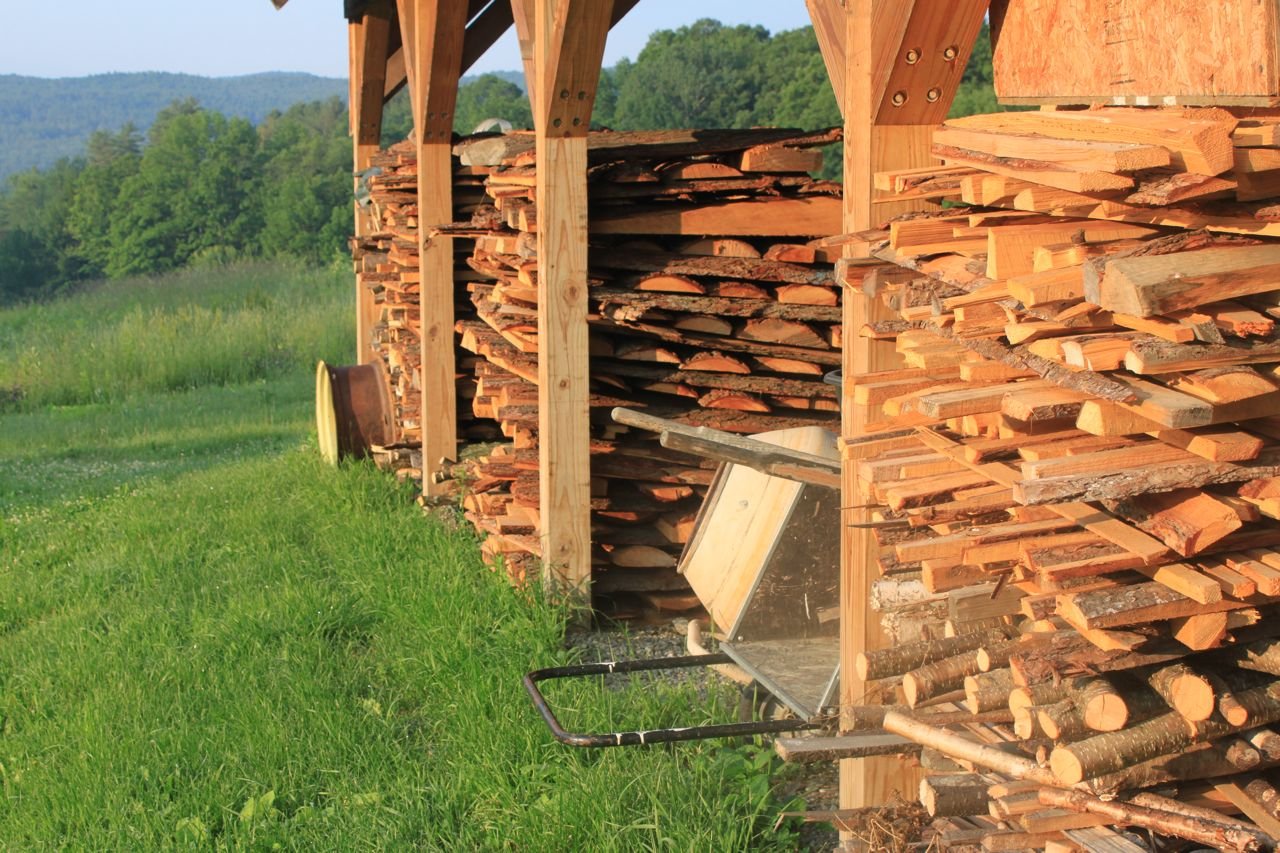
As for how things were looking elsewhere in the shed, we had prepped a lot of wood. We hoped it would be more than we needed, and it was. We had a good mix of hard and soft woods - the hardwood being small log lengths we hauled out of our woods, left over from a recent logging project. The softwoods, mostly in the form of slab offcuts, come to us from a neighbor and a local mill in the next valley over. We cut them into four foot lengths, and stack them under the shed. (This was our first firing with wood under the shed - boy were we glad! It's been SO rainy here . . .)


Once we had finished loading all the pottery in, we bricked up the doors- with their handy numbers as place markers - and made fire!


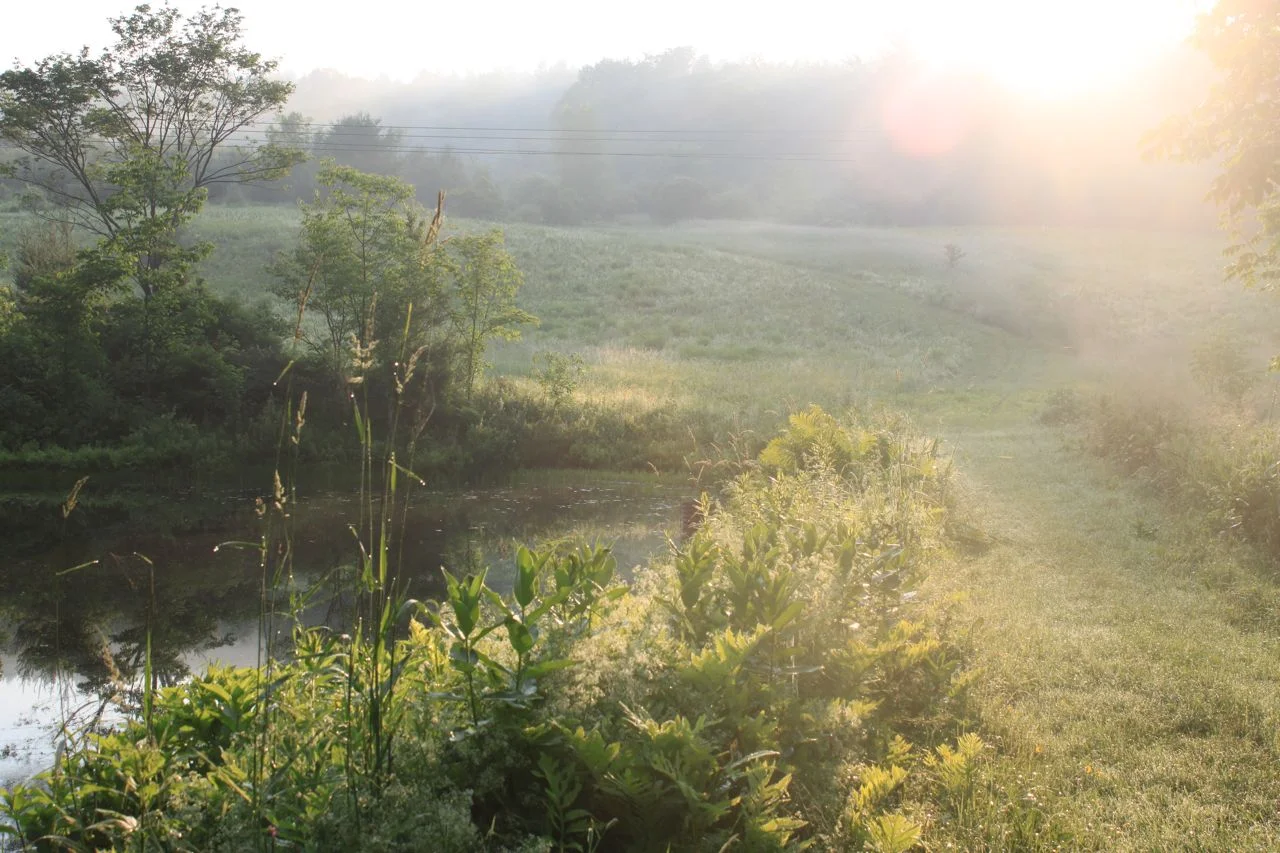
Minutes after starting the firing, we were treated to this in the field near the kiln, which we took as a good omen . . .

The firing proceeded smoothly, and we stoked wood into the front of the kiln 'round the clock for the next four days. We were grateful to have lots of friends take shifts this time - Nathan still did about twelve hours a day, while Becca did six on the kiln plus a 'second shift' in the kitchen feeding hungry stokers!


By the fourth day, we were ready to begin side stoking - where the wood goes in between the pots in the back of the first chamber and the soda/second chamber. This brings up the temperature more evenly overall and provides a little more ash on the pottery farther from the main firebox.


As we near the end (gauged for us by the melt of cones and the pyrometer reading), we begin to pull small rings of clay from the view ports. Once cooled in water, they give us an idea of whether the surface of the clay is smooth and glassy. If the rings are rough, we need to keep raising the temperature. Fortunately, they were lovely and we finished stoking just before the 96 hour mark.

Matt and Nathan 'mudded' the air ports in the front. This prevents cold air from leaking into the kiln while it cools slowly over a week's time. Yes, we wait a whole week - it's hard, but we don't want to crack the pieces by opening it when it's too hot! When you're waiting on about 1000 pieces, it's worth the wait. :)

We hadn't been finished for long - maybe an hour or so - when we were treated to another rainbow, this time with an end in each of our fields. A magical way to culminate months of work . . .

We'll be back next week with photos of the new pottery! You can see our pieces at one of our upcoming shows. We'll also have new things in our shop a little later in the summer.
~Becca

at work in our new studio
We are at work in our new studio: making pottery, being potters. Our wood kiln is just a short walk across the yard.
It sounds so simple. And it is, beautifully simple- at last.
Yet it's taken us four years to get to this point. Four years of hard physical labor, four years of juggling and planning and moving and sweating and spending and keeping 'the dream' alive through it all.
You could say it's been a lifetime in the making . . . Nathan bought our homestead nearly fifteen years ago, with the idea of setting up a studio in the old dairy barn. For better or worse, that barn collapsed.
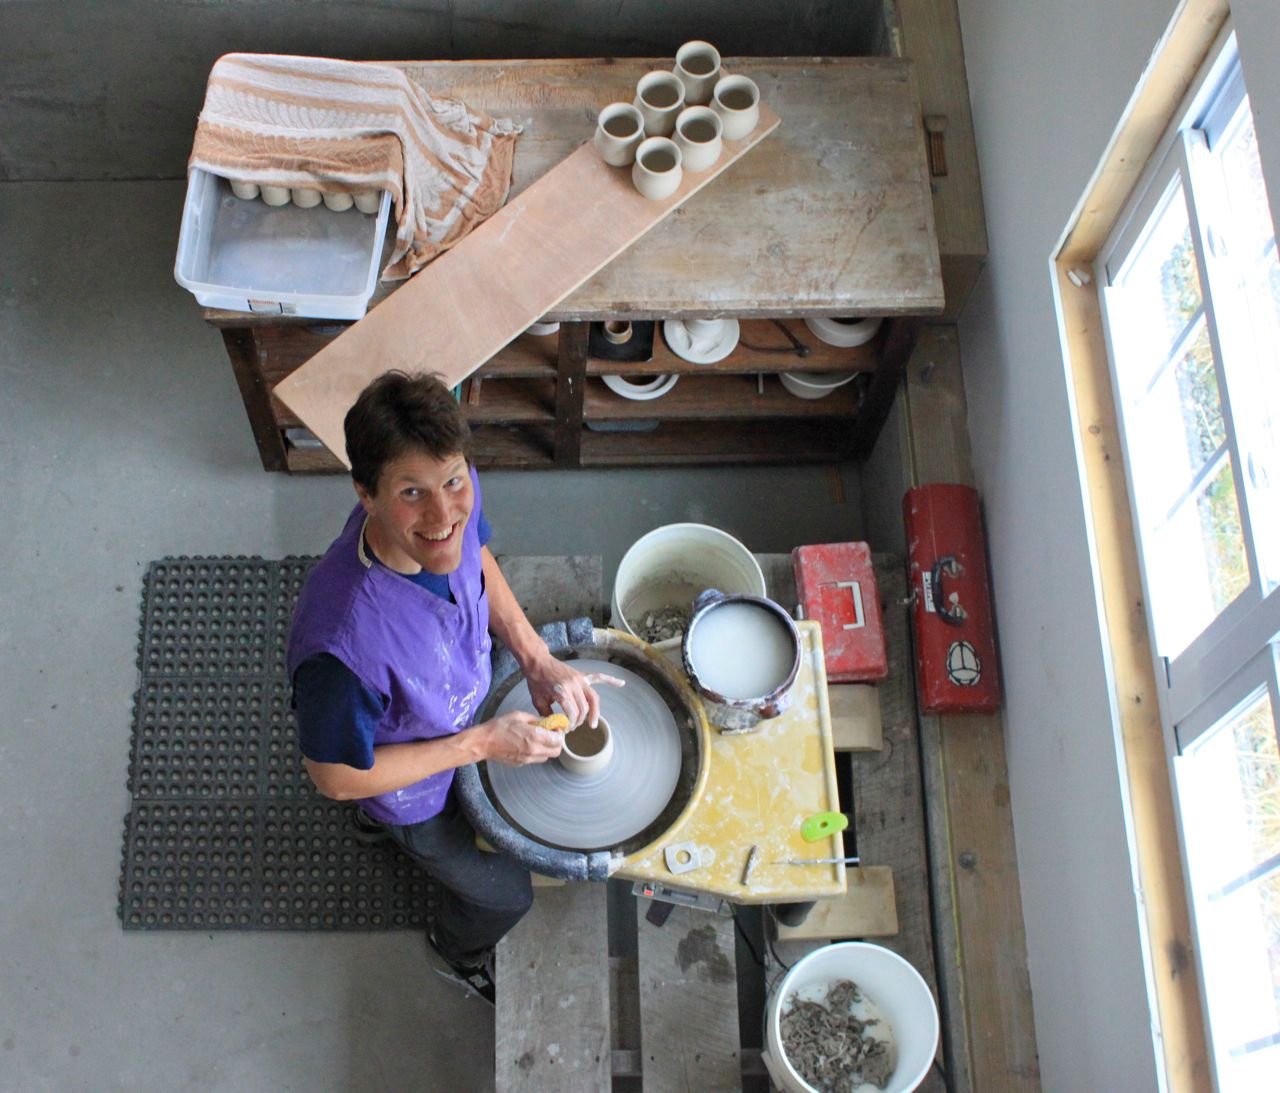
Nathan finally has a studio of his own. He has worked for half a dozen potteries, and still teaches at a variety of educational institutions. It's been a long time coming to have a place where he could create his own layout, set out all of his tools and not have to pick them up and carry them away at the end of the day. With all of the dust-creating potential of working with clay, he has placed a floor drain in the center of the space and another in the glaze lab (funny things to be excited about, but hey . . .) and his own damp room for storing the pottery he's working on. No more constant monitoring of works in progress with a myriad of sheets of dry-cleaning plastic. These things make him very, very happy.
While I have known the joy of a studio of my own, I have never built one from scratch. Never have I started with a clean slate, with intention, or designed a space that works well for me and what I do as my full-time job.
It's clean and new and bright and I get to share it with the ones I love - man and canine. Our days are flooded in natural light and surrounded by earthly beauty.
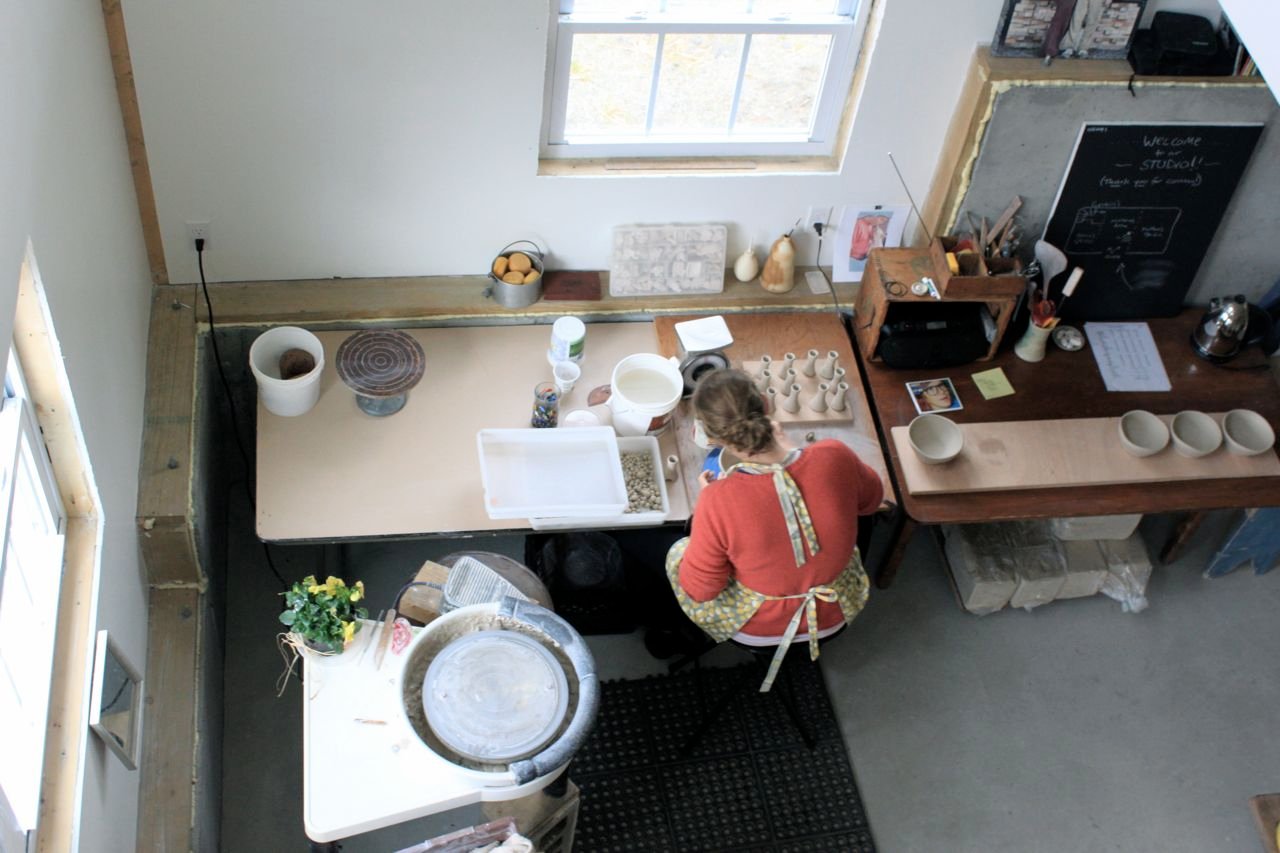
The building is still far from finished; we will complete it as we're able. For now, we're happy bringing buckets of water from the house, and going without light fixtures. (The long daylight hours and ambient light from windows above mean we don't even need them.) We built a few adjustable pottery storage racks to get us started, but are still looking forward to figuring out more of the layout as we get a feel for the space.
We're still researching options for heating the radiant floor beneath us come chilly fall weather. The upstairs is still sub-floor and eventually we'll build some walls to separate future gallery, office, and storage. (For now, though, it's a great bunk room for visiting friends and kiln stokers.)
Despite the many things still to do - and there will always be more to do- we are happy as clams in our hard-won new work space.
We're working diligently towards a firing in early July, all the while tackling slab wood cutting and stacking, as well as a few kiln details and readying kiln shelves.
Now that the building is 'done', it's time to get to work!
~Becca
a new year, a new chapter
I remember hearing of a friend's resolution on the first day of 2012 to "stop talking about doing things, and actually do things." That struck a chord with me. Not that I'm one to sit around for extended periods, but there were some major things I really wanted to do this year. I really didn't want to just talk about doing them. Very high up on that list was finishing our kiln. It had been two solid years of building - much longer than anticipated, on my part anyway - and we were scraping by, using friends' kilns (some of them in other states, yeesh) to fill orders and get ready for shows and commitments to galleries. Not to mention we'd be telling people we'd be done with the kiln for what seemed like waaayy too long. It was time. to. be. done.
Well, long story short, we did it. We finished the kiln in May, and fired in June. And again in July. We even got beautiful pottery! We took our new wood-fired pottery to our biggest Maine show, and our nine-day show in New Hampshire over the summer. The response was very very positive.
These successes alone were almost momentous enough to make for a complete year. But we kept doing. We added ten more feet to the kiln shed, keeping the weather off the kiln and us a little more cozy. We closed it in, and added a wall for storing pottery (yeah, we haven't mentioned that yet here- but we did it!). We moved wood in, keeping it dry and ready for our next firing.
I built a chicken coop! We'd wanted to have our own laying hens for some time, and the urge to build a home for them was so strong it kept me awake at night. (True story, albeit weird.) Design ideas and calculations filled my head until I pulled out some old barn boards and my hammer. And we got those chickens, as chicks, actually - and we're so happy to finally be getting fresh eggs from our happy flock.
While building said coop, I decided to put the siding on a diagonal, so it would be stronger when we skidded it around the field with our tractor. That led to a Google search for tips and tricks on how to do this. That very search pulled up something much more consequential than chicken coop photos, as it turned out: in one fell swoop, I found the blog that found us a studio builder.
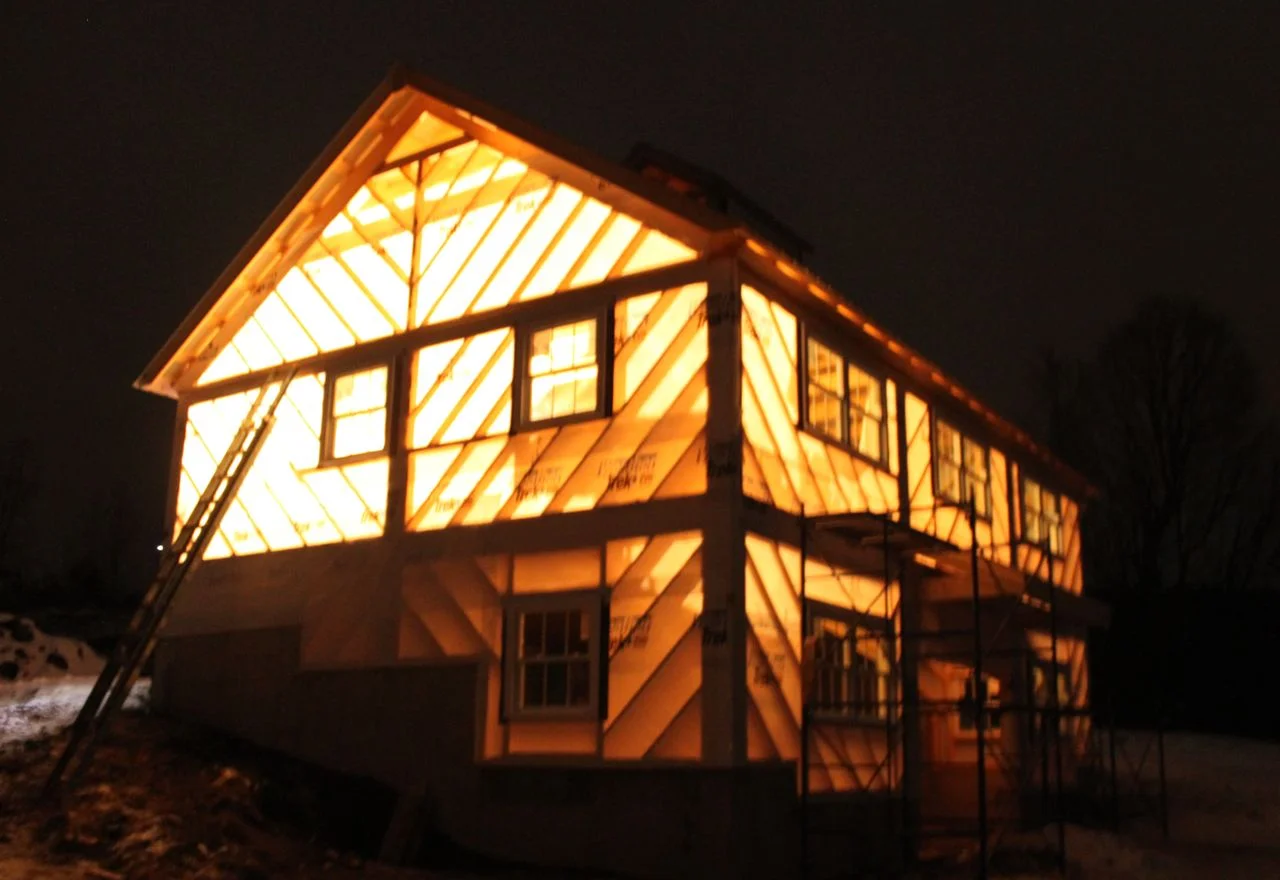
In a single, gutsy moment of intense craving for a studio-of-our-own, I emailed Mr. Abetti to see if we could even consider one of his beautiful barns. (Maybe we could be his crew for the project?!) This was in June. He wrote back almost immediately and we began a correspondence, including meetings on each of our summer birthdays, that resulted in an incredible building marathon that ended in a shell of studio, roofed and closed in (mostly) before this end-of-the-year snowfall.
We broke ground in September, did complicated footing layout in October, and our very own insulated concrete foundation in November. (Yeah, I still kind of can't believe this part.)
Two days before Thanksgiving, we began working on the studio structure. On the winter solstice, we had the roof on, the windows in, and the wrap on.
We're amazed, giddy, delighted, and gearing up for what looks like a lot more doing in 2013. We just moved out of our rented studio in a nearby town, and put our pottery making tools and supplies into storage. Woah. Yup, we're making a big leap : we're very hopeful banking on the fact that the next pottery we make will be in our new studio. (Say hello to buckets of water, unfinished walls, and extension cords!)
On this New Year's Day, however, we are enjoying reflecting and giving thanks for all of YOU who helped us get to this point. (OK, let's be honest, we are also working . . . by starting to put siding on our studio building! We might not be able to match 2012 in productivity and excitement, but we'll sure try. ;)
Here's to a wonderful 2013.
Cheers,
~Becca
"late on wedding presents, can you help?!"
Allow me to preface this post by saying that Nathan and I make a real effort to keep our blog and Facebook page from being too sales-oriented. (Which is actually kind of funny, when you think about it, because we only get to be potters because people buy pottery.) But we really don't want to be too in-your-face about selling or buying. We do, however, try to tell our story in an honest and open way, which is why I wanted to highlight this little exchange.. . .

first firing
Two years, eleven months, and sixteen days after breaking ground on our two-chamber climbing kiln, we lit the first fire. Stacked with over 700 pieces of mostly raw and unfired pottery on 121 kiln shelves, we were ready to see how our creation actually worked!
The first couple of days of the firing were fairly quiet. We burned hemlock and a hard wood mix fairly slowly, starting in the four-foot long opening at the bottom of the kiln, and gaining just 25 degrees per hour, or 150 degrees per shift. Nathan and I split up the days by taking six hours on and six hours off, so one of us was always at the kiln, taking good notes and taking it all in. (The other was trying to get a bit of sleep! 12-6, 6-12, 12-6, 6-12, you get the idea.)
The kiln was really responsive and fairly easy to control at this stage . . . we were learning each other, and enjoying ourselves. Friends brought dinner, and good company, even homegrown strawberries and fresh milk for coffee. (Thank you Becky, Chelsea, Dave, Sarah, Bob, and Sarah!)
We were really pleased with our firebox design, which is a sort of stepped down staircase filled with air channels for efficient burn. The four-foot lengths are stoked first through the opening in the bottom of the kiln, and eventually through the doors on top, alternating, and stoking wood every 5-10 minutes. The slab of wood sits on the 'stairs' and burns all along its length. Below is a photo of the inside of the firebox taken before we loaded the kiln.
We burned a lot of wood. One of the biggest learning experiences during the firing was that our chimney is SUPER powered. (As in, a very big opening.) It drew a lot of the heat across the bottom of the kiln and out the stack, causing us to consume more wood than we hope to in the future. (We'll close up the flues a bit more with bricks, so it doesn't pull quite as hard!) We estimate that we burned about 5 cord of scrap hemlock and pine slabs, and 1 cord of hardwoods. Thank goodness for our wonderful friends who stopped by nearly every day to help us move wood up to the kiln front for us; we were so glad we had TONS of wood on hand and at the ready. (Thank you Grace, Matt, Chelsea, Dave, and Charlotte!)
Side stoking (putting wood into the sides of the chambers in addition to, and then instead of the front) began in earnest in the wee hours of the fourth day. At that point, the pyrometer (basically a high-temp thermometer) we had salvaged had ceased to give us a reading (it only went to 1,999!) so we were firing solely using cones and blowholes (pictured above) as indicators of heat and internal atmosphere.
By hour 90 or so (the morning of the fourth day), we had reached cone 12 in the front of the kiln, and needed to stop stoking there, and move onto solely the side stoking ports in the back of the first chamber, and in the soda chamber. The narrow gauge dry wood ignited on contact.
Thankfully, we had great help at this point. Our friends Kaitlyn, Sarah, and Matt (all potters!) showed up with food and most importantly, fresh energy. At this stage, we were both running on very little sleep, but nonetheless feeling energized and excited by all that was going on. (Thank you, adrenaline.) If the rest of the firing were a slow jog, these last few hours were a flat-out sprint. We moved quickly to get the soda chamber infused with soda (soda ash mixed with some whiting and borax, made into a paste, and stoked into the kiln on boards), and to raise the temperature evenly throughout.
We checked cones and pulled draw rings, and were pretty happy with what we saw. We would have liked it hotter in some places, and cooler in others, but that's wood-firing! (Especially the FIRST wood-firing.) By eleven-fifteen that morning, after 94 hours of firing, we were ready to shut it down. All the plugs went back in, the damper was closed, and we did a wee bit of collapsing celebrating. It's safe to say that regardless of the results, this first firing was a huge success in many ways. We are grateful for the experience . . . and hoping and waiting for at least a few (?!?) nice pots.
We did it!
P.S. Cooling takes an entire week. Stay tuned. We can hardly wait.
before & after
I'm a big fan of 'before & after' photos. It's just that more often than not, I seem to get to the completed stage and realize that I never took a 'before' shot. Well, when a project takes 2 or 3 years, it's a little easier to ensure those photos get taken, and in the case of our refurbished milkshed pottery showroom and large wood-fired kiln, the changes are pretty dramatic. (By the way, the kiln is not quite done, so I felt I had to put the "after" in quotations!)
This Memorial Day Weekend (2012), we're proud to be part of the 20th Annual Vermont Studio Tour, happening at over 200 studios all over this beautiful state. As we prepare for this open studio event, I can't help but reflect back on what past visitors have seen, and how far we've come since the last time we opened our doors. (I can't believe that during our first studio tour, we literally showed folks the giant hole in the ground 'complete' with concrete slab for the kiln we would be building. Now that we're nearly done, two years later, I hope some of those same people will come back and see that we were actually serious: we actually built a giant kiln!)
For more information on the Vermont Studio Tour, including a downloadable-for-print map, check out the Vermont Crafts Council site here.
For a direct link to our Google map location, including driving directions from your house, click here.
Hope to see you!