Two steps forward, three steps back, lots more steps forward!
Sometimes progress must be measured in more than just forward steps. Kiln building over the last couple of weeks has demanded that we measure progress in backward, sideways, and diagonal steps, too. It all gets us down the path, just maybe not as quickly as we thought. As it turns out, carpentry with curves is fairly tricky stuff, but we've finally got it all figured out. (We think!) Here are some photos from our recent escapades under the big shed in the field.
 Nathan removing arch forms from the flues between our main chamber and the soda chamber.
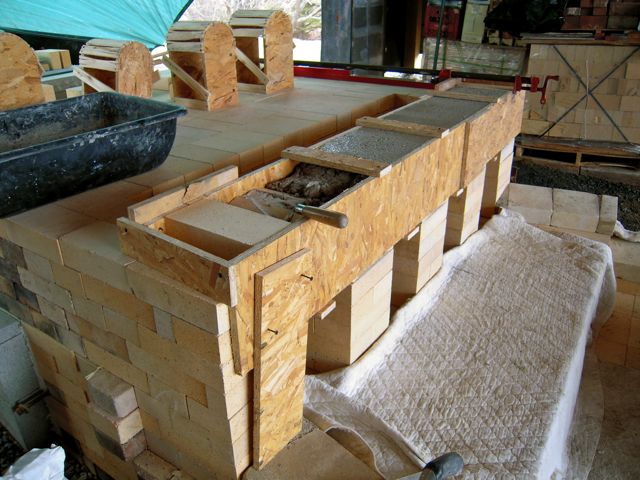
We used a high heat castable to cap off the flue arches. Here's our casting in progress!
We love this photo- doesn't it look like some kind of temple?! We finished the flues between the chambers, and repeated them at the back of the soda chamber, where the kiln will begin to taper into the chimney. The openings are just a touch wider at the outsides to try to discourage "center pull" of the flame and create a more even firing.
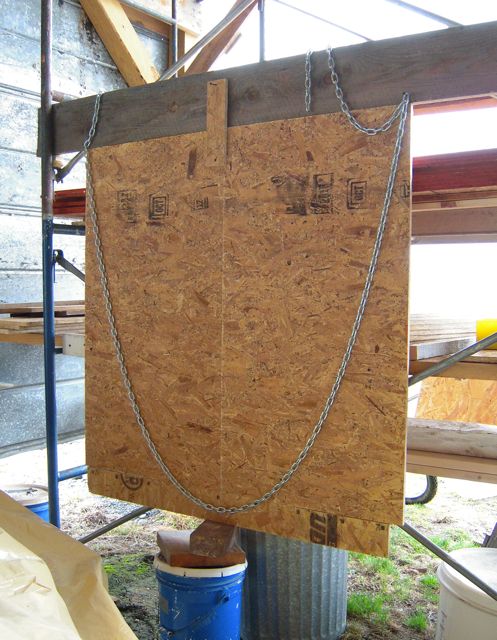
We used a chain to determine the strongest possible arch- a catenary- for most of our wooden forms. This one is for the soda chamber, the nearly complete form shown in place below.
With the help of our shed lights, we worked late into the evening one night to complete the final skeleton shape of our main chamber! Pretty exciting to see it after all of the drawings and all of the dreams. Next step: lath.
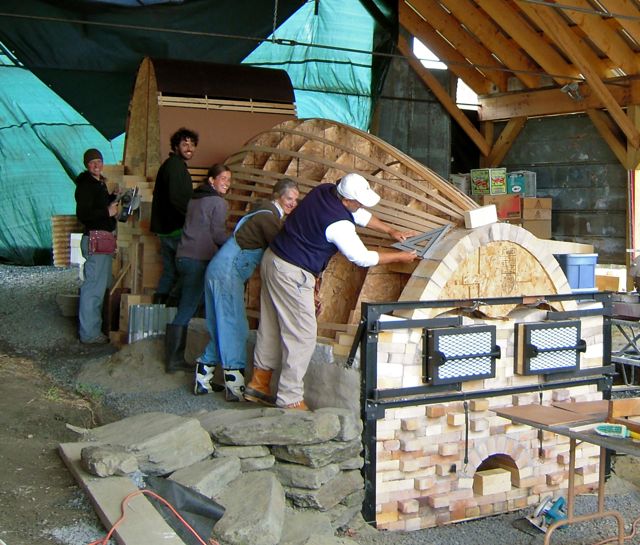
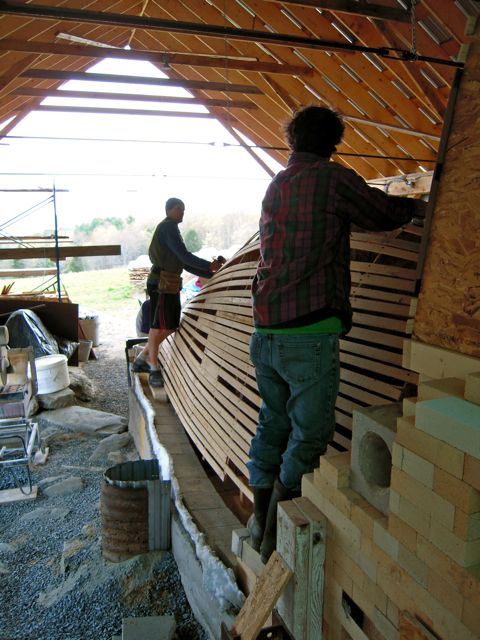
Family traveled from Maine, New York, and San Francisco to strap lath on this kiln of ours, with our crew ranging in age from 26 to 87!
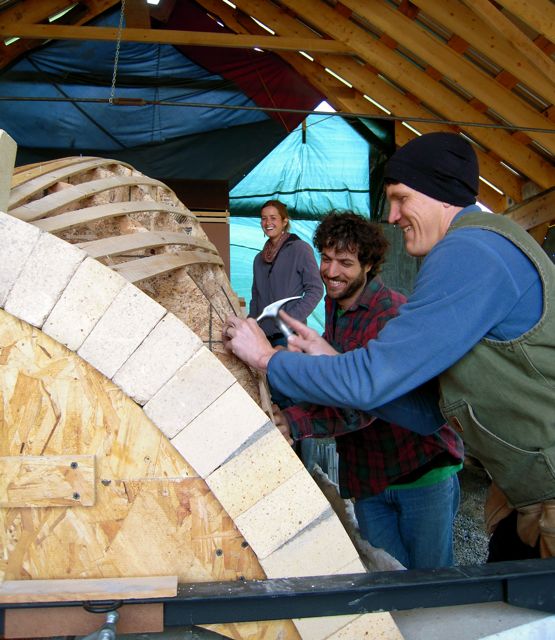
The kiln forms- particle board arches, lath, supports, all of it- will be burned out once the last brick is in place and the shape is self-supporting.
Entertaining the puppy is among the most important of the jobs! (Thanks, Ma.)
Mmm, Happy Spring. More photos coming soon!

